
In addition to the built-in menu items, you can add your own custom menu items to your app’s main menu. Custom menu items are great for linking members to an external website — like a benefits portal — or for putting a specific piece of your own content (a resource, article, event, or form) front and center on the home screen. To get here, go to Local → Edit local and click the Menu Items tab.
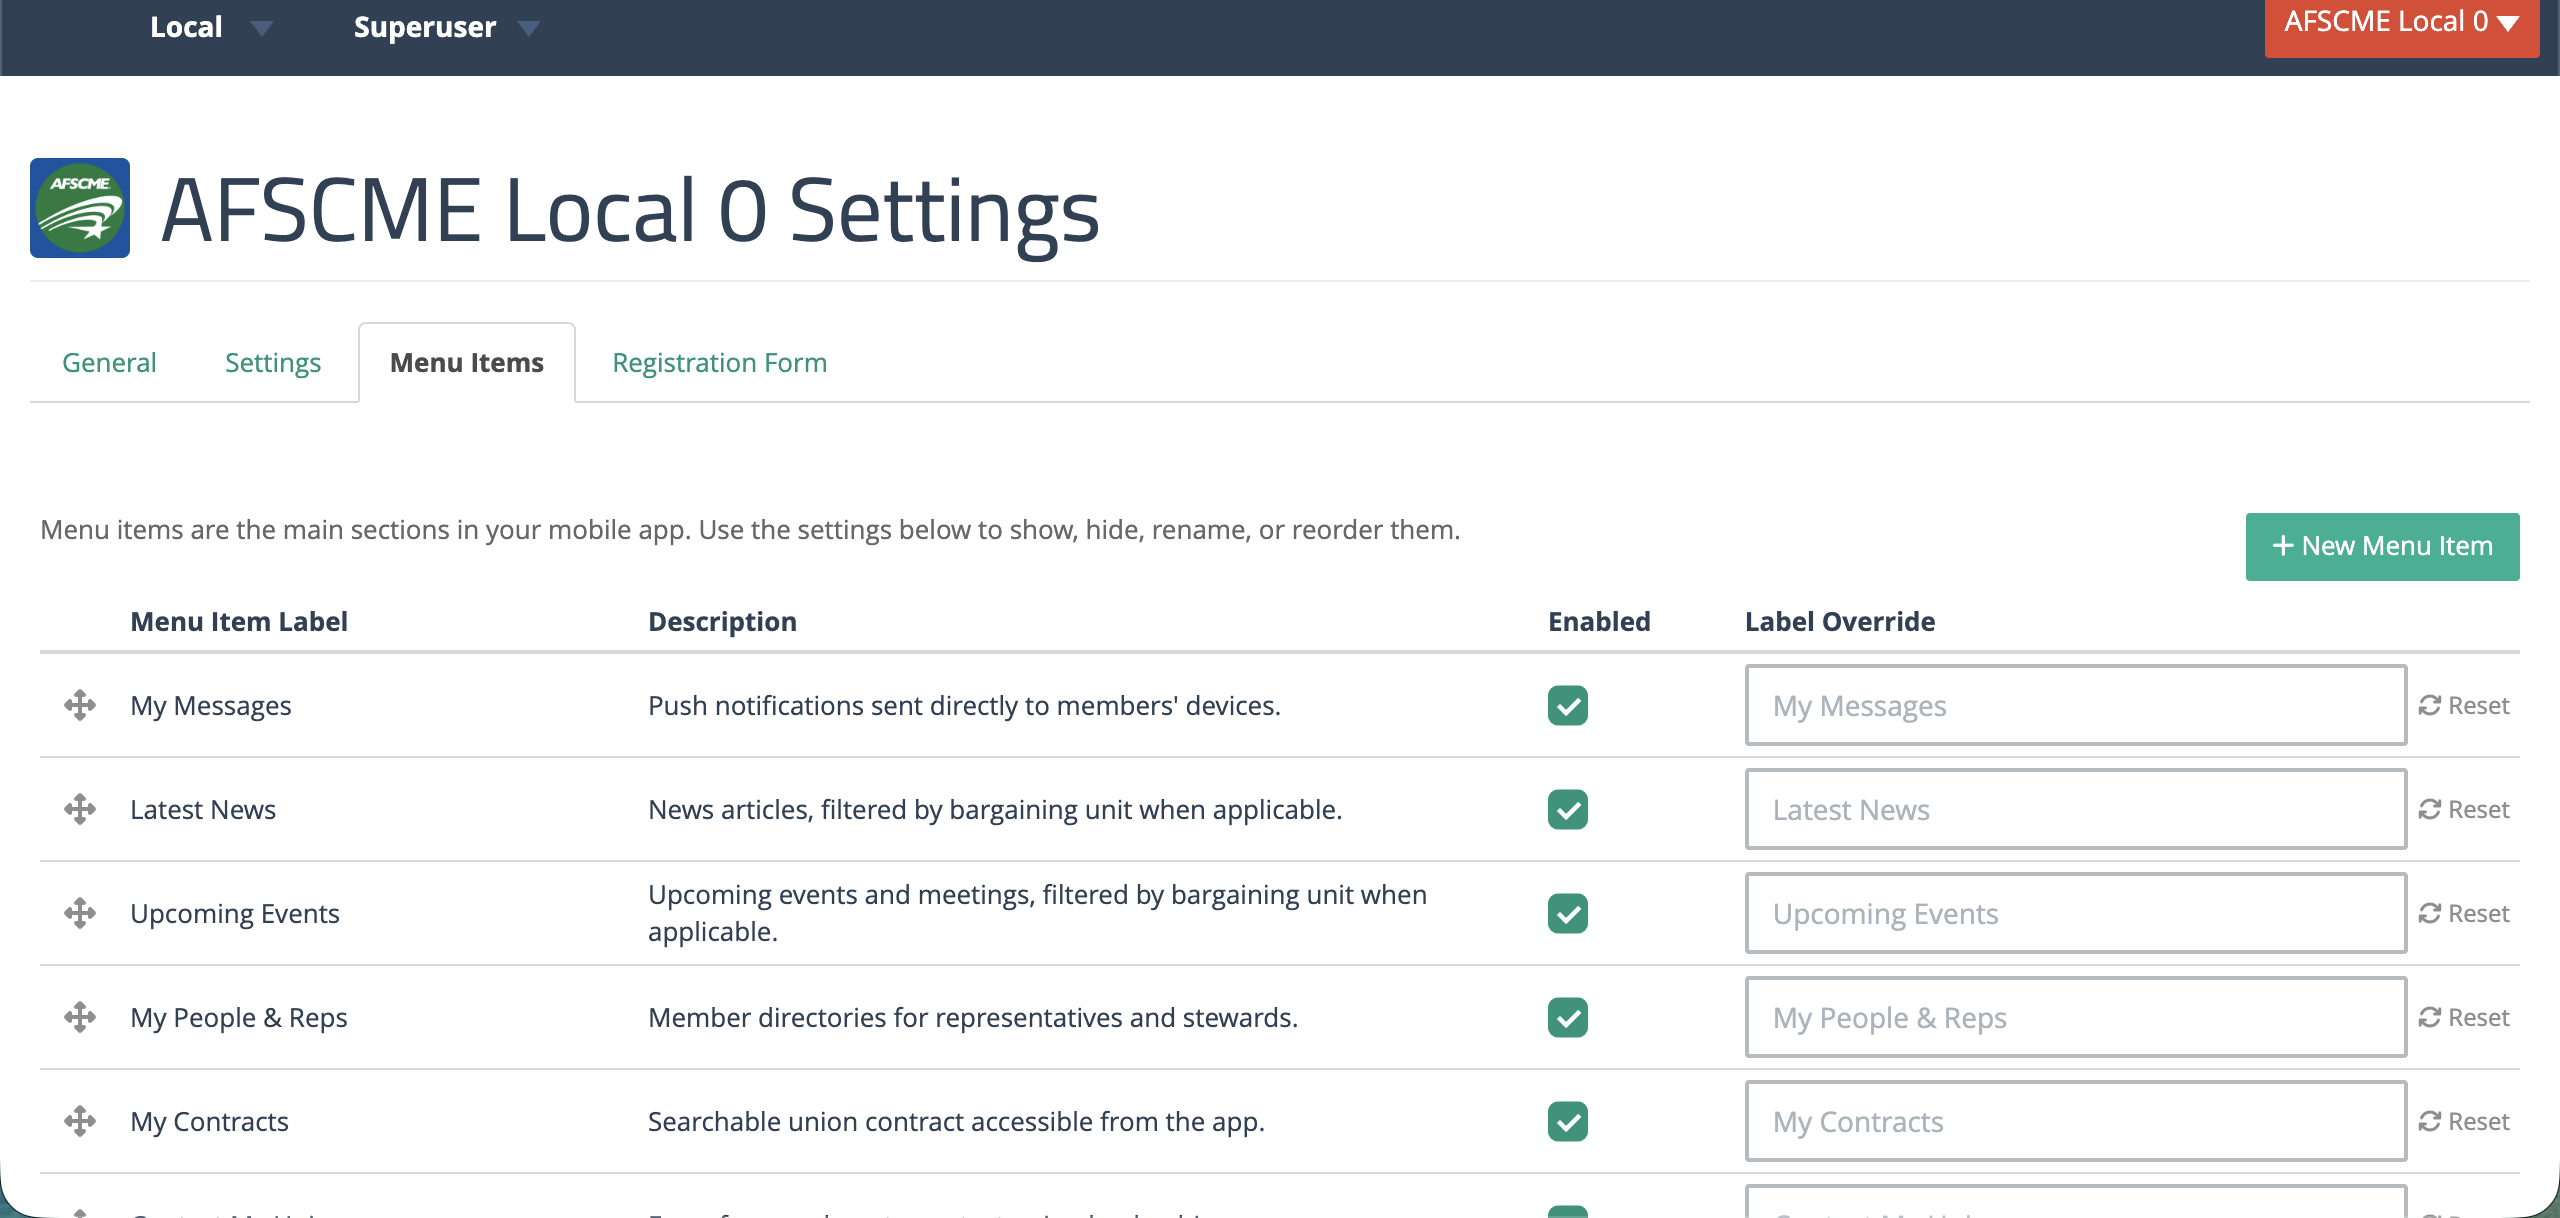
Adding a Custom Menu Item
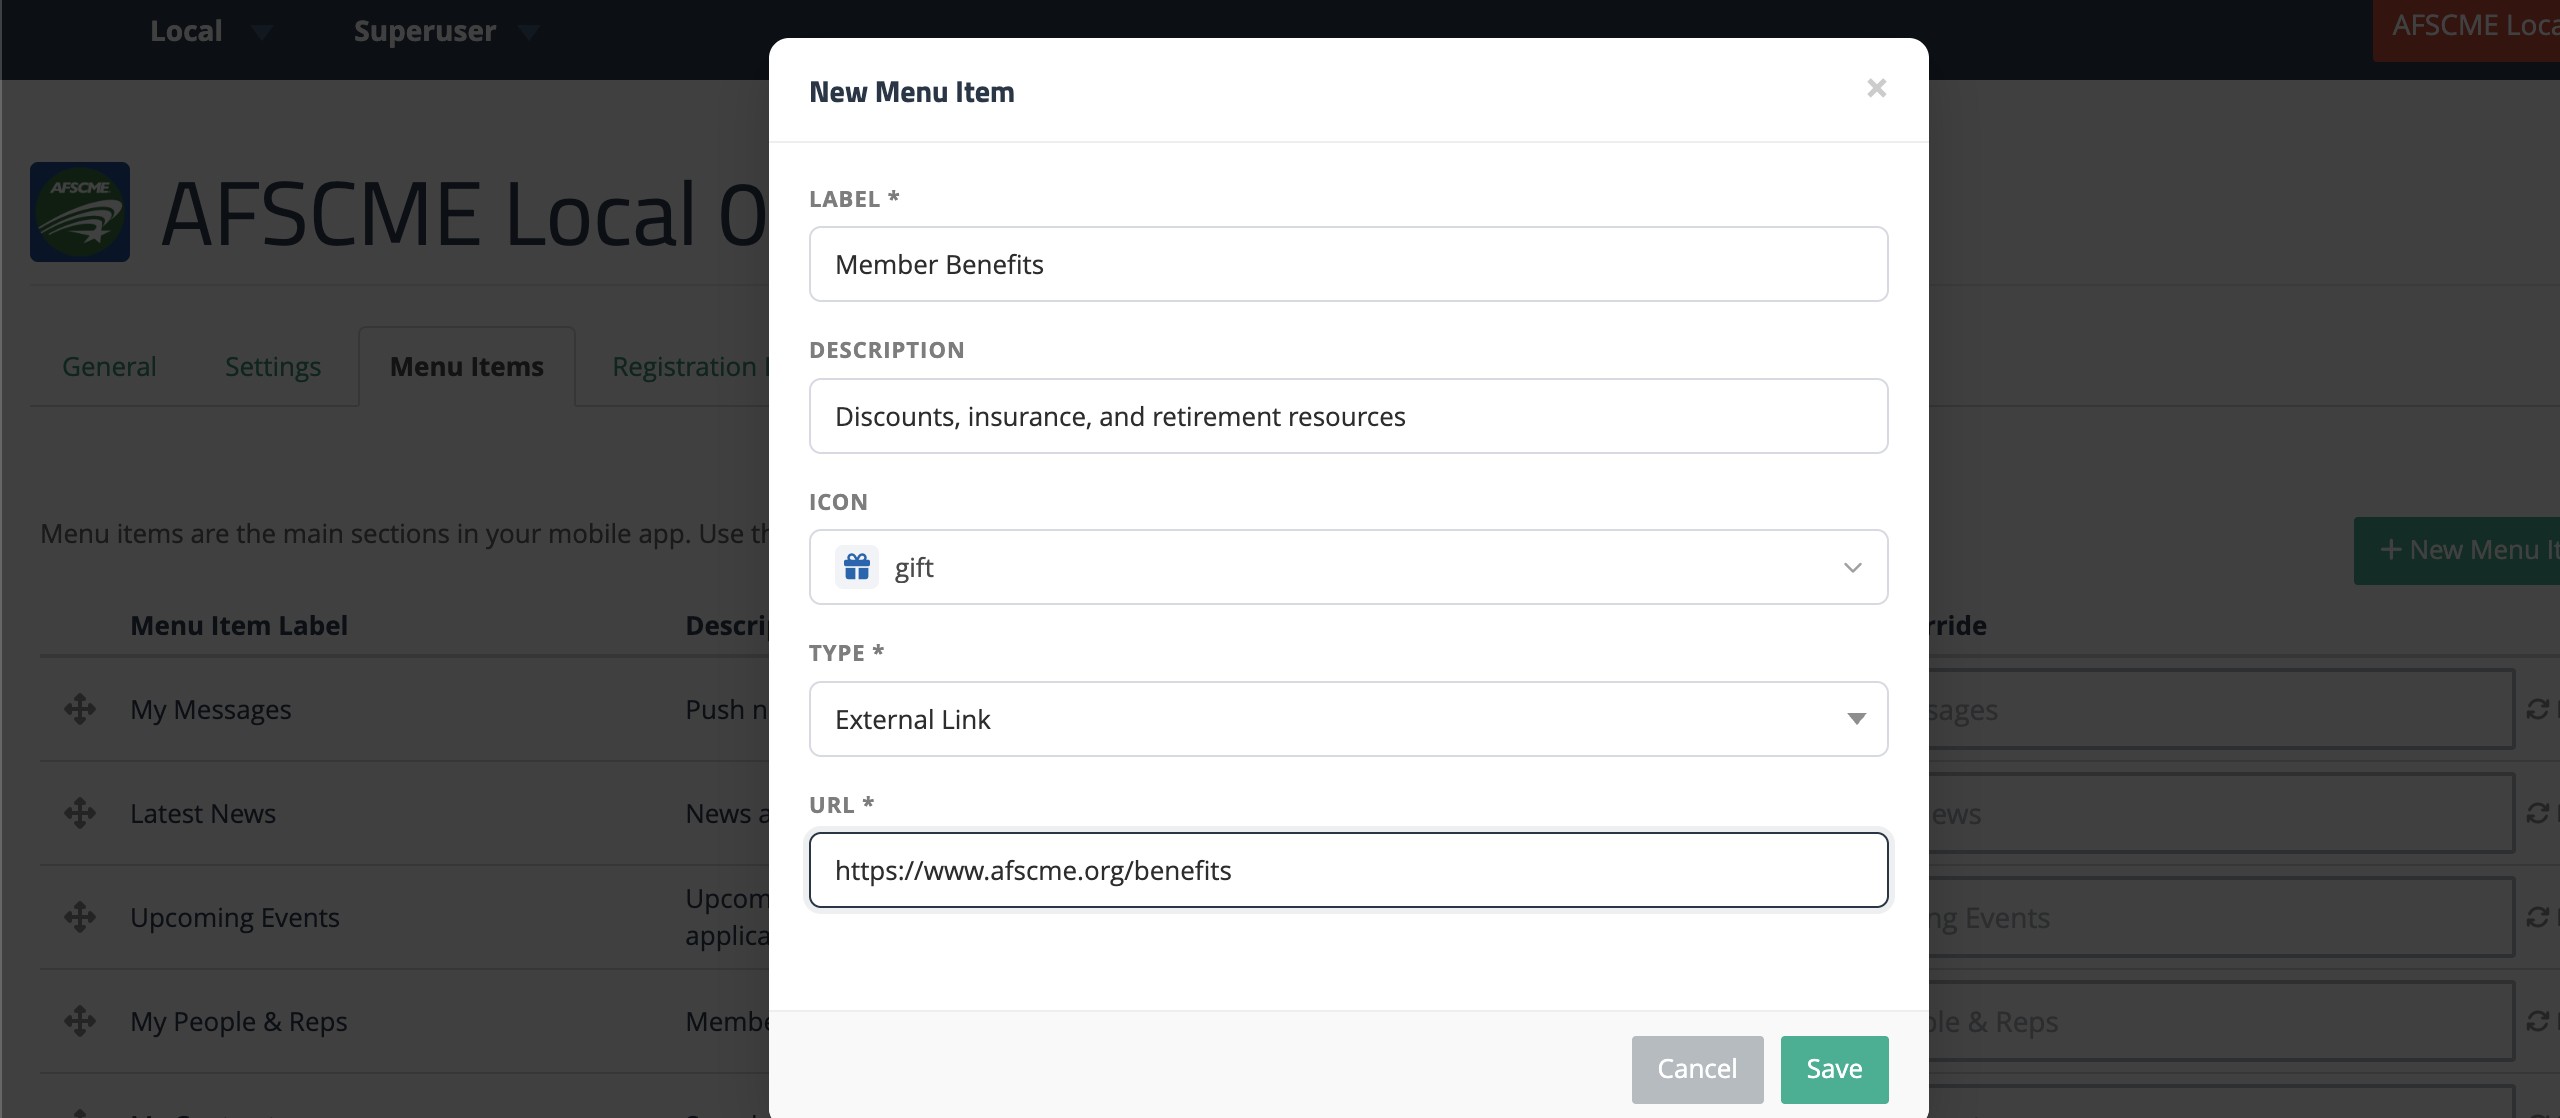
- Click the + New Menu Item button in the upper right of the Menu Items tab. This opens the New Menu Item dialog.
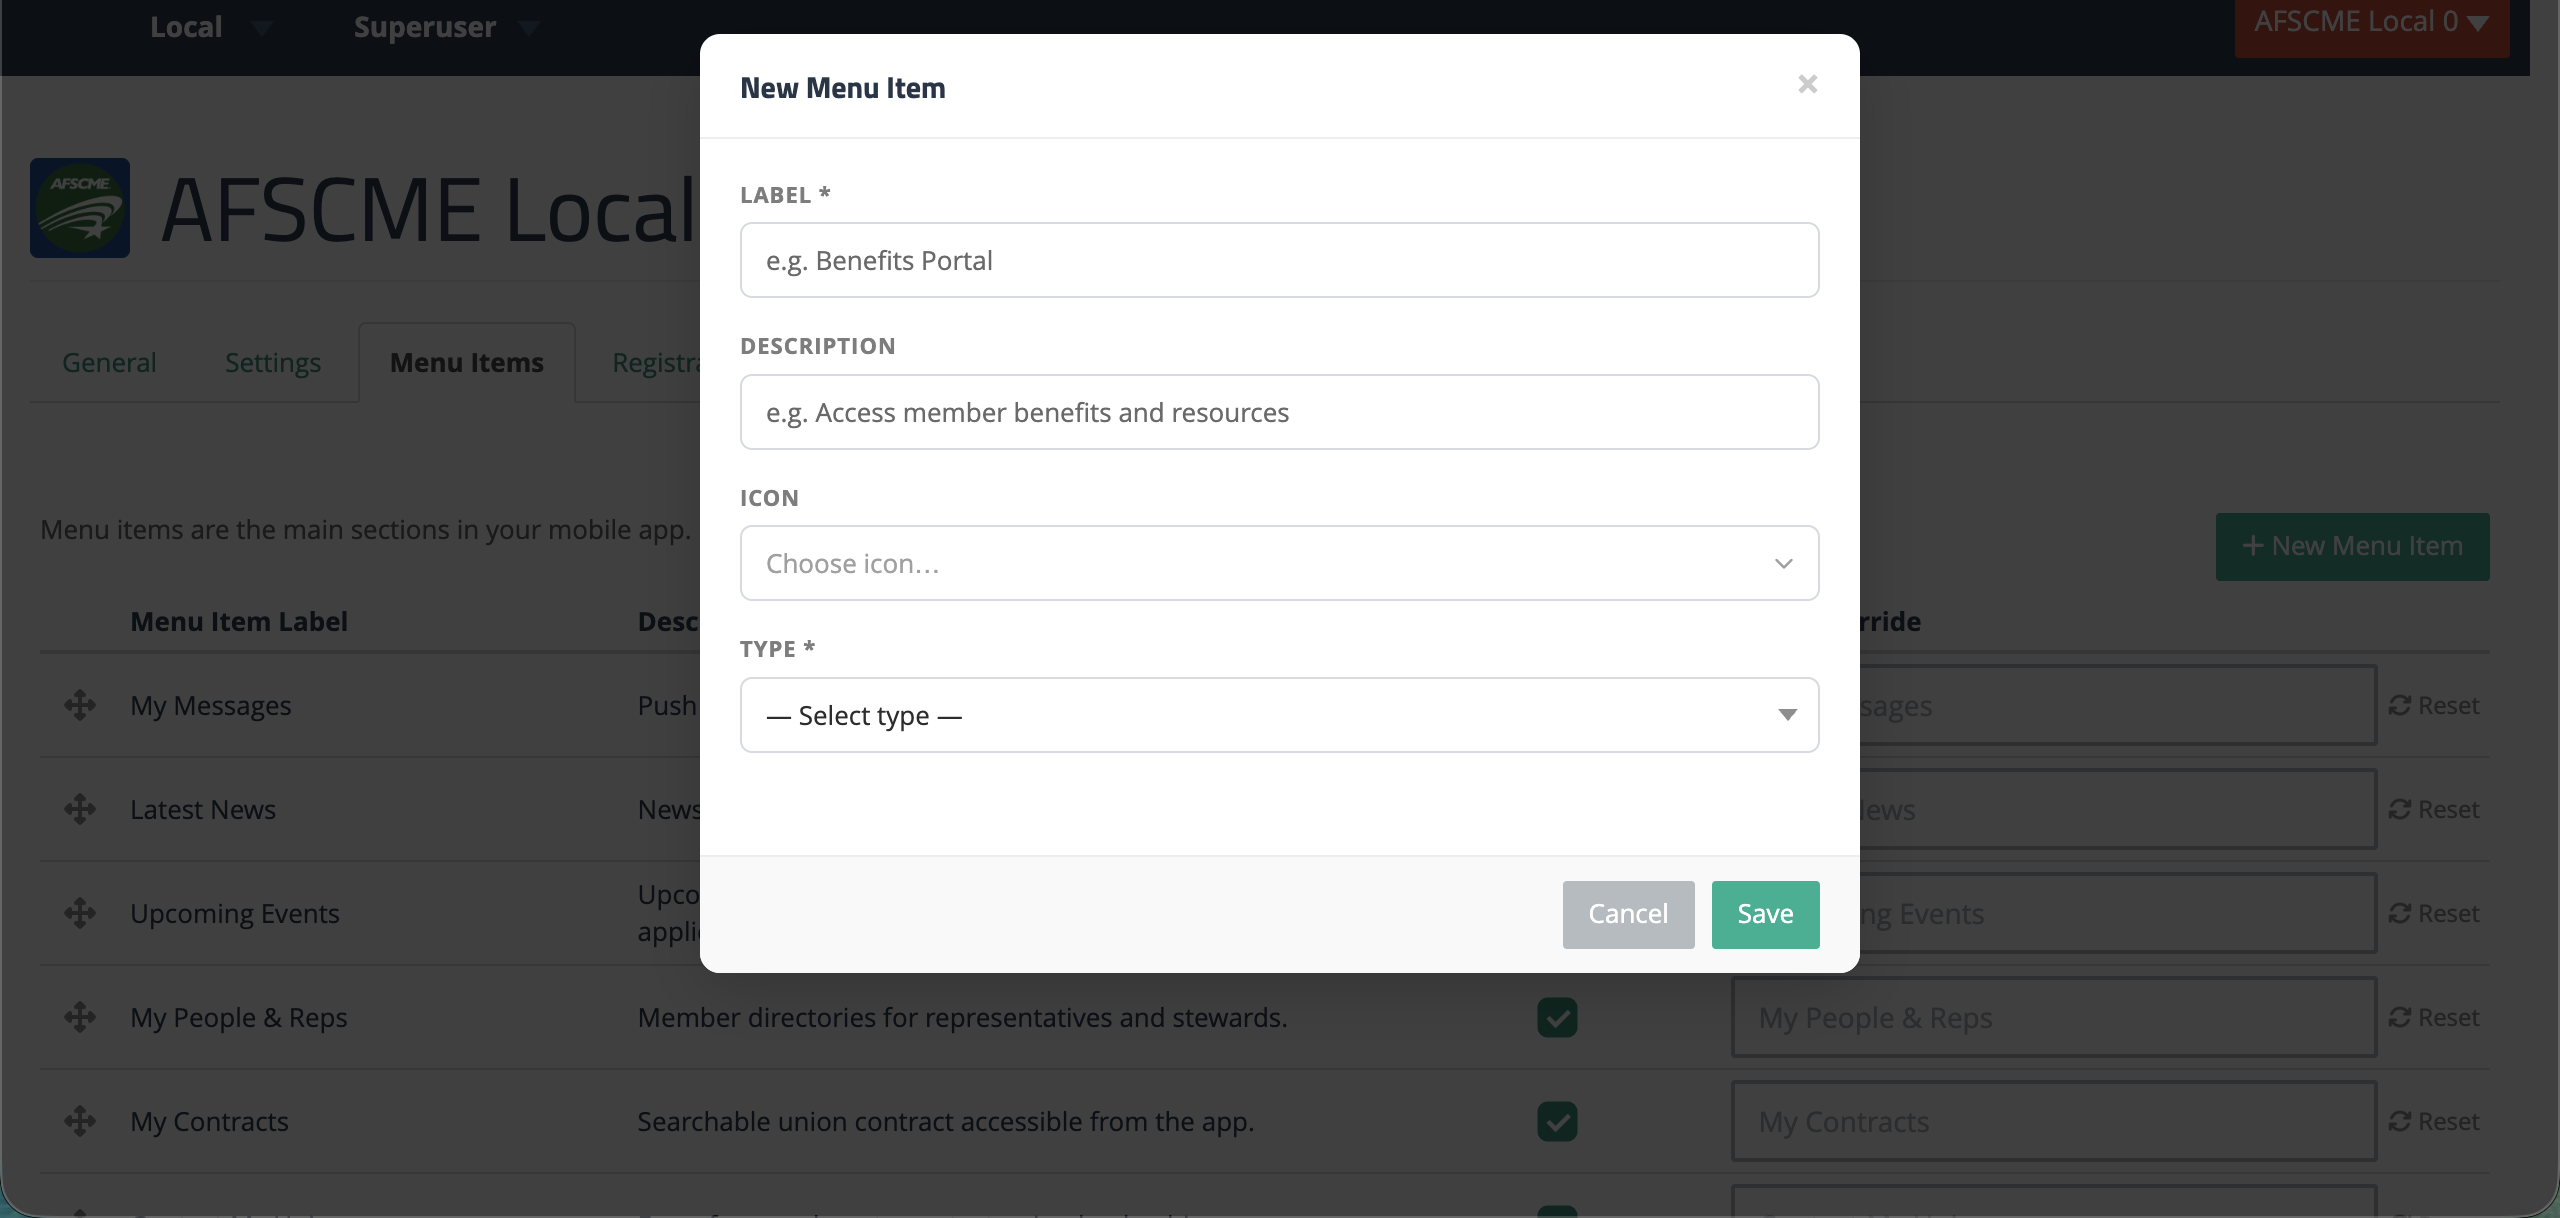
- Fill in the fields:
- Label (required) — The name members will see in the menu. Keep it short so it fits on one line on a phone screen.
- Description (optional) — A short subtitle shown under the label in the app.
- Icon (optional) — The icon shown next to the label. See Choosing an Icon below.
- Type (required) — Where the menu item takes the member when they tap it. See Link Types below.
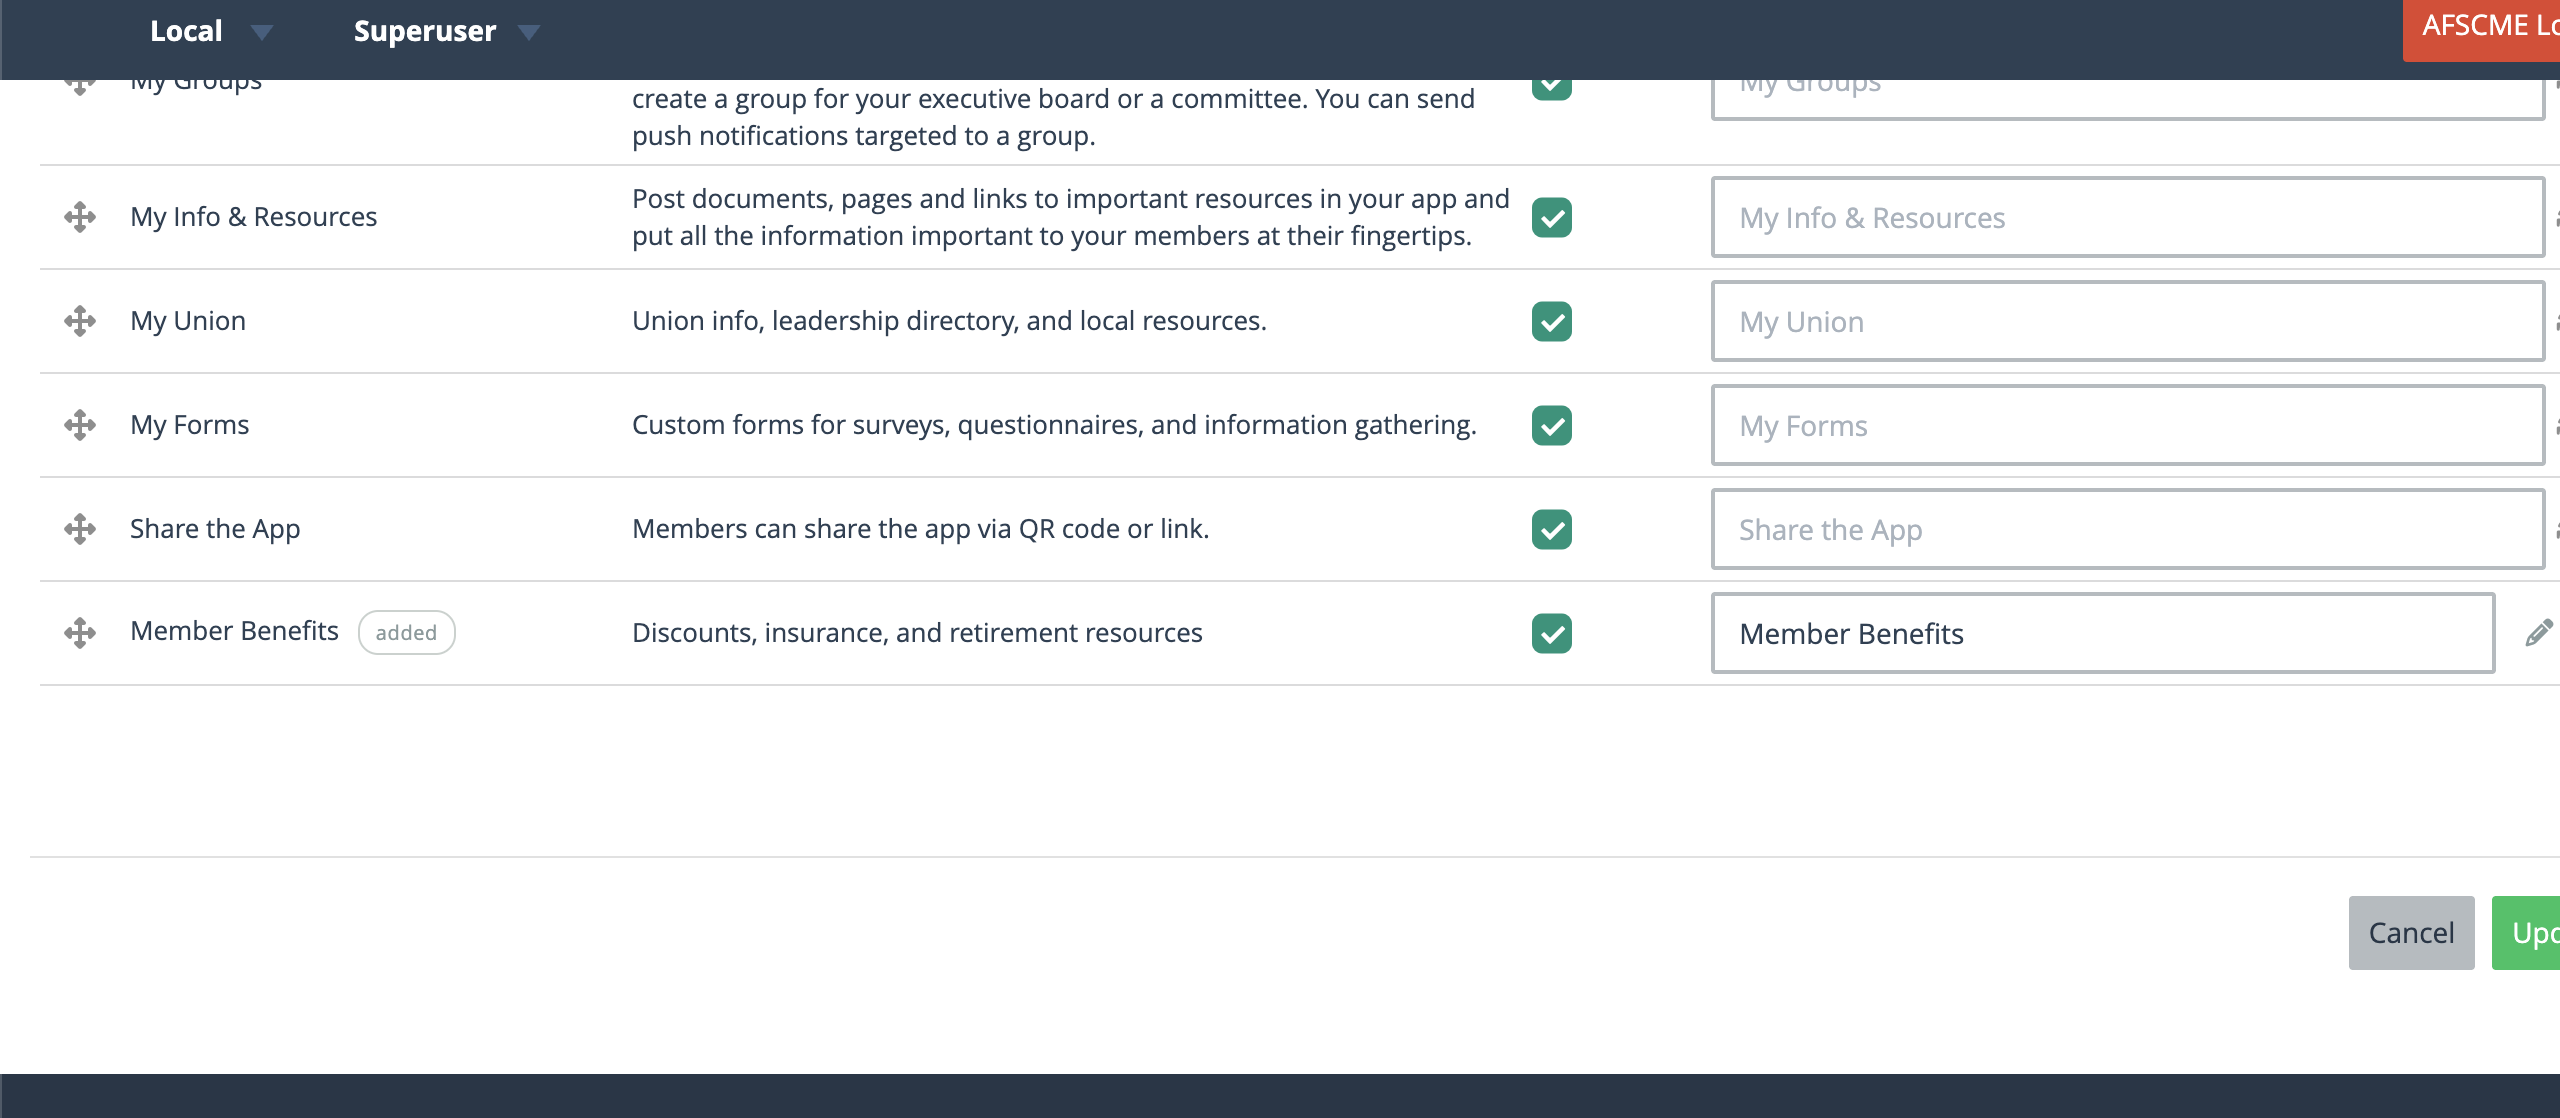
- Click Save. The item is saved right away and appears at the top of the menu with an added tag; you don’t need to click Update. To move it, drag it to a new position, then click Update at the bottom of the page to save the new order.
Choosing an Icon
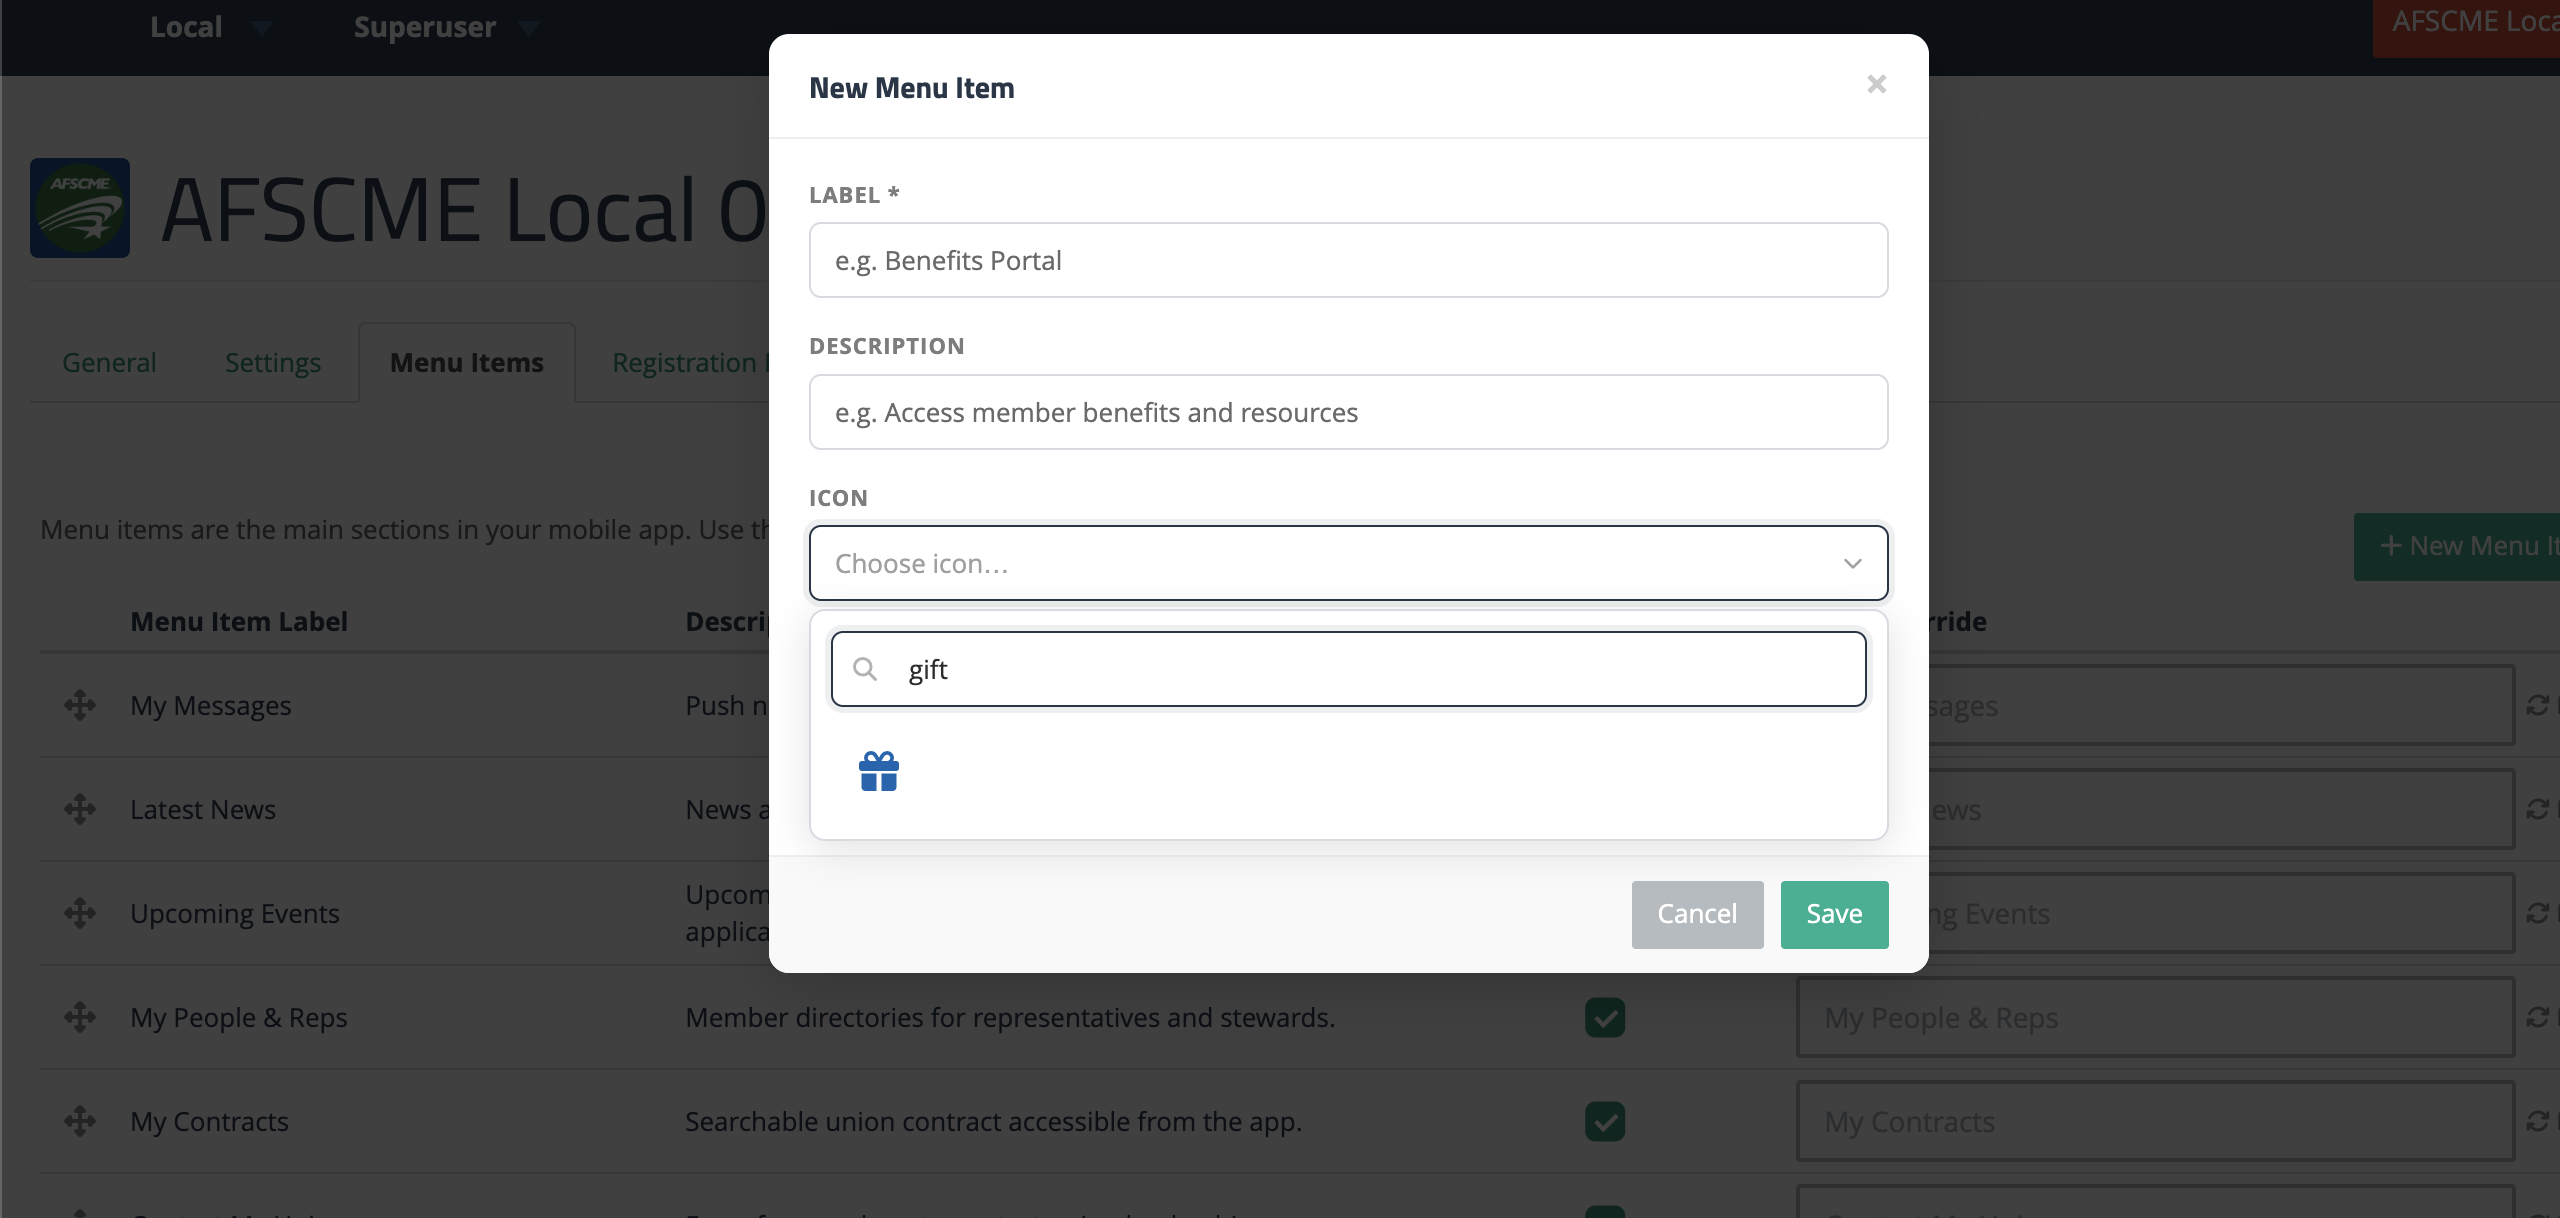
Click the Icon field to open the icon picker, then type in the search box to filter. For example, type gift to find a gift-box icon for a benefits menu item. Click any icon to select it.
Link Types
The Type field controls where the menu item takes the member when they tap it. There are two main categories: external links and links to your own content inside the app.
External Link
Choose External Link to send members to a web page outside the app. A URL field appears — paste in the full address (starting with https://). When the member taps the menu item, the page opens in the app’s built-in browser.
Internal Content
Choose an internal content type to link the menu item to something you’ve already created in the app manager. Pick a type, then pick the specific item from the Select Item list that appears. You can search by title.
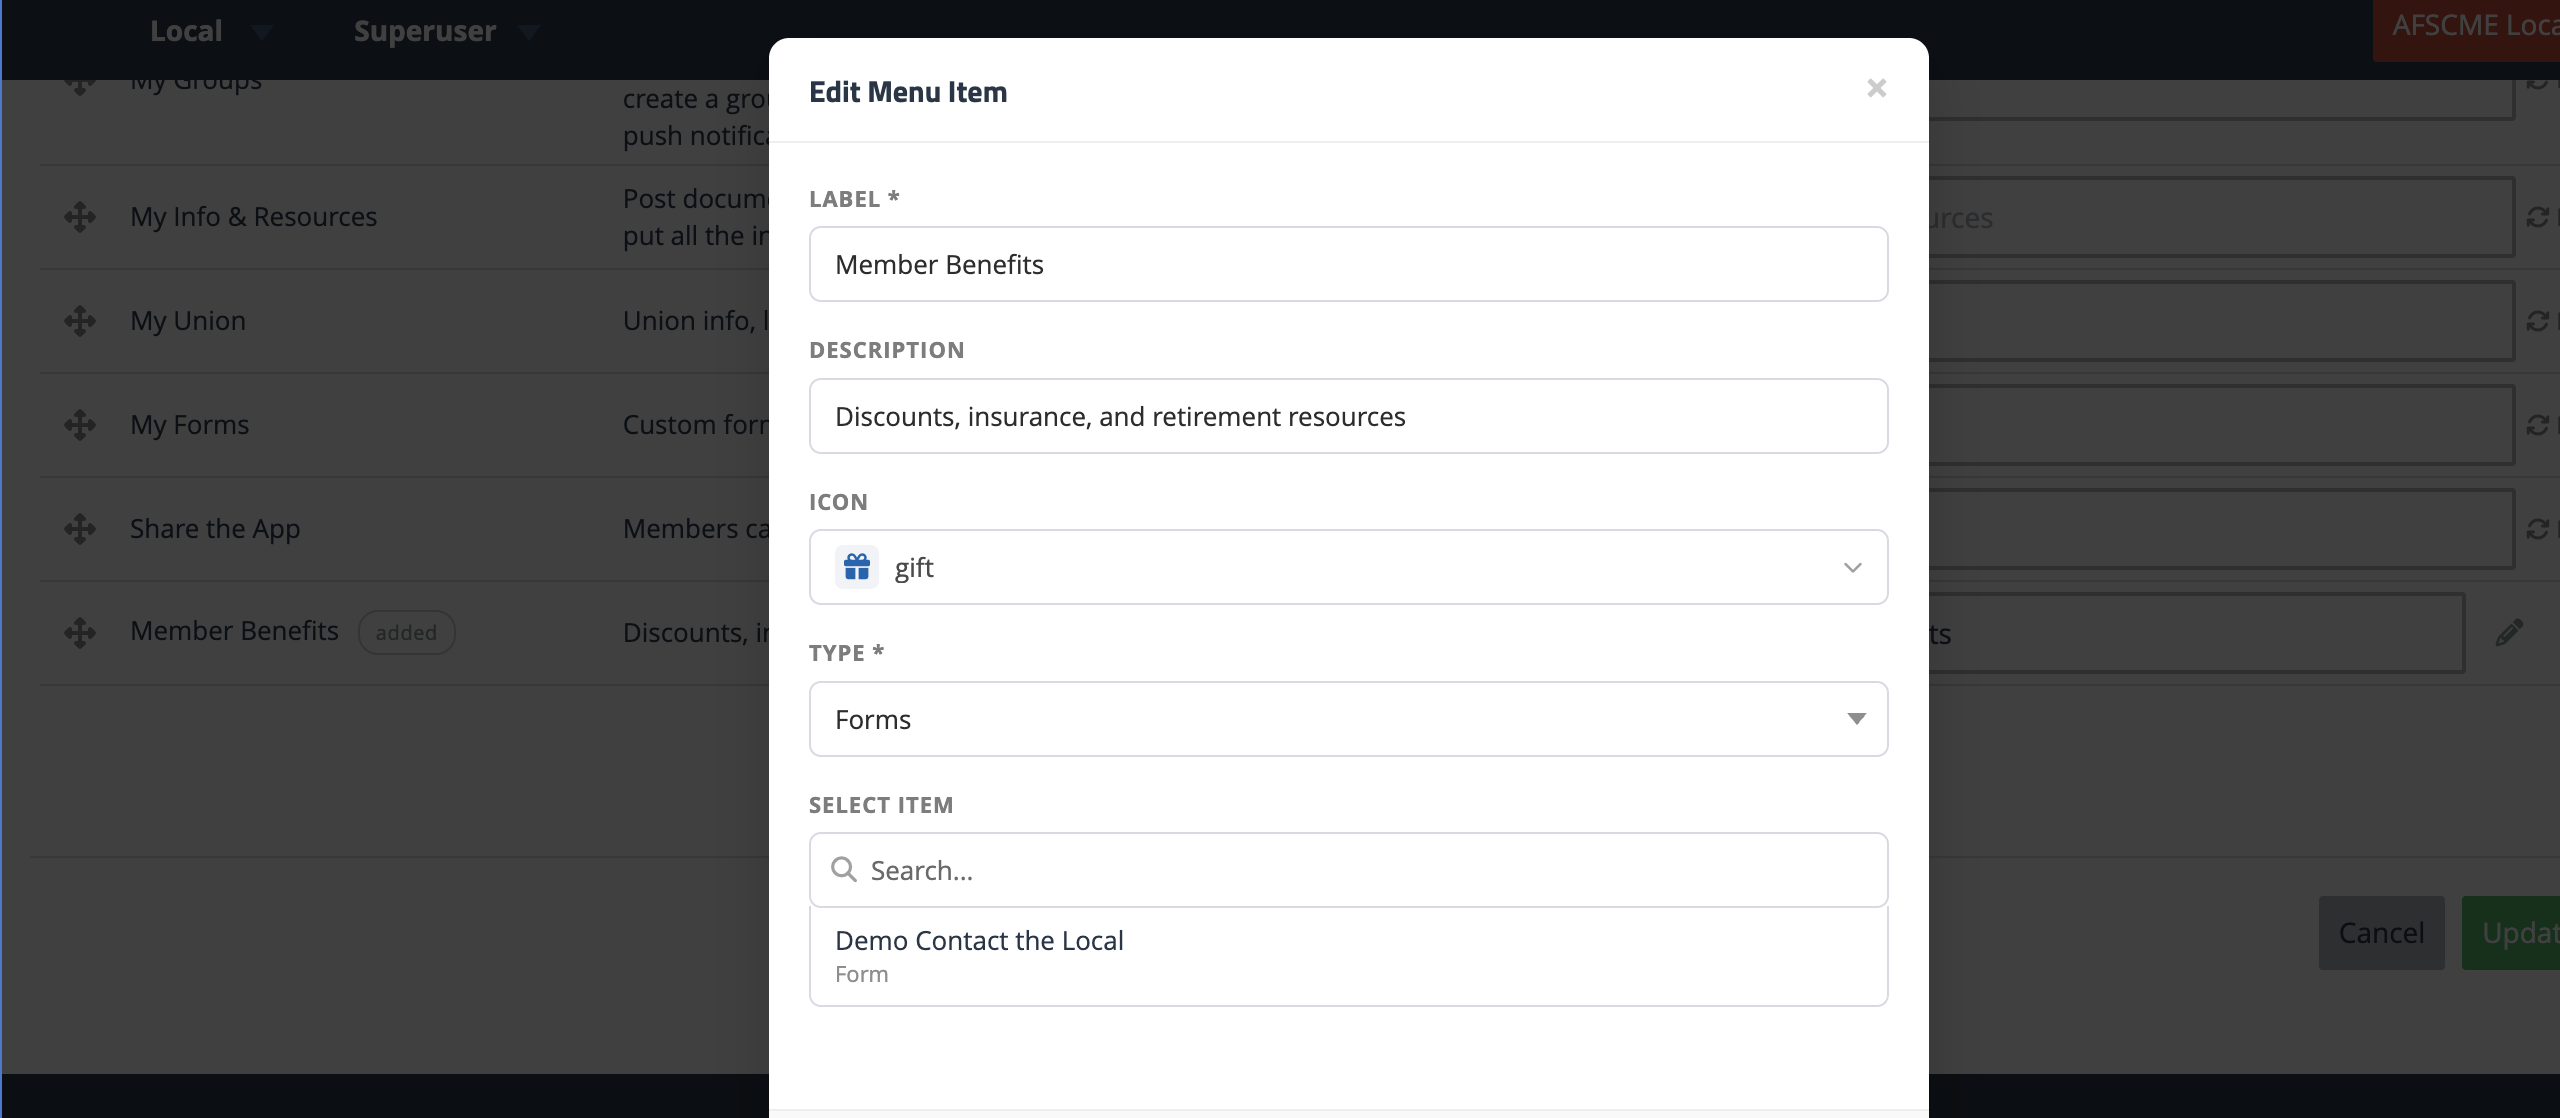
The available internal types are:
| Type | What the member sees |
|---|---|
| Resources | Opens a category or a single resource directly |
| News | Opens a news feed or a single news article — or the member’s personalized My News feed (see below). |
| Events | Opens a single event directly. |
| Forms | Opens a custom form for the member to fill out. |
Which Resources You Can Pick
A custom menu item isn’t limited to one bargaining unit, so with the Resources type the Select Item list offers resources and categories that are shared union-wide with your local, plus anything filed inside those categories, including sub-categories. This includes content a parent local has shared down to your local, not just content your own local created.
If your local has more than one bargaining unit, content that sits only under a single bargaining unit (or inside a category that sits only under one) is not offered, because some members of the local couldn’t see it. To link to it from the menu, use Choose who sees this on the resource or category to share it with your whole local first.
My News (Personalized Feed)
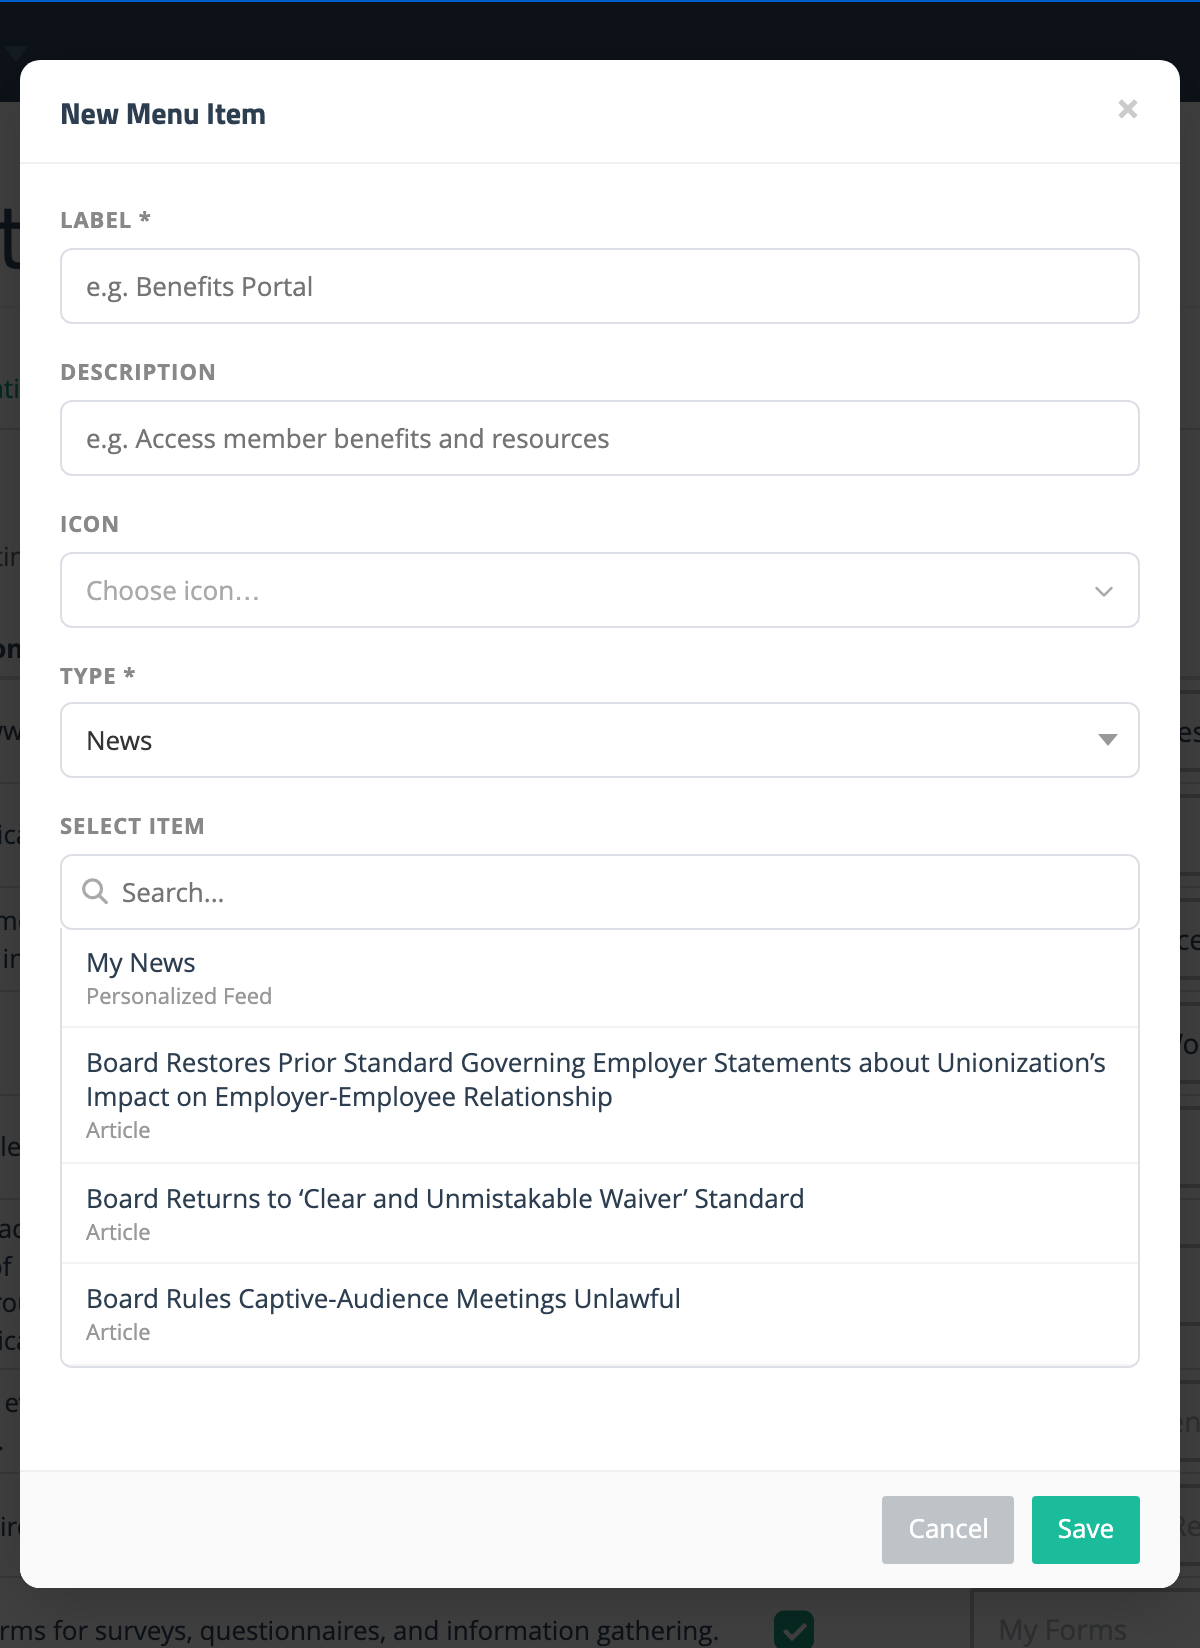
When you choose the News type, the Select Item list has a special My News entry pinned at the top, labeled Personalized Feed. Instead of pointing at one specific news feed, it opens each member’s own personalized news feed — the same aggregated stories they see on the app’s home screen, tailored to their bargaining unit and groups. Pick it just like any other item, give the menu item a label (for example, My News), and save.
Note: The My News menu item requires a recent version of the mobile app. Members on older app versions won’t see it, so it’s a good idea to encourage them to update.
Editing or Deleting a Custom Menu Item
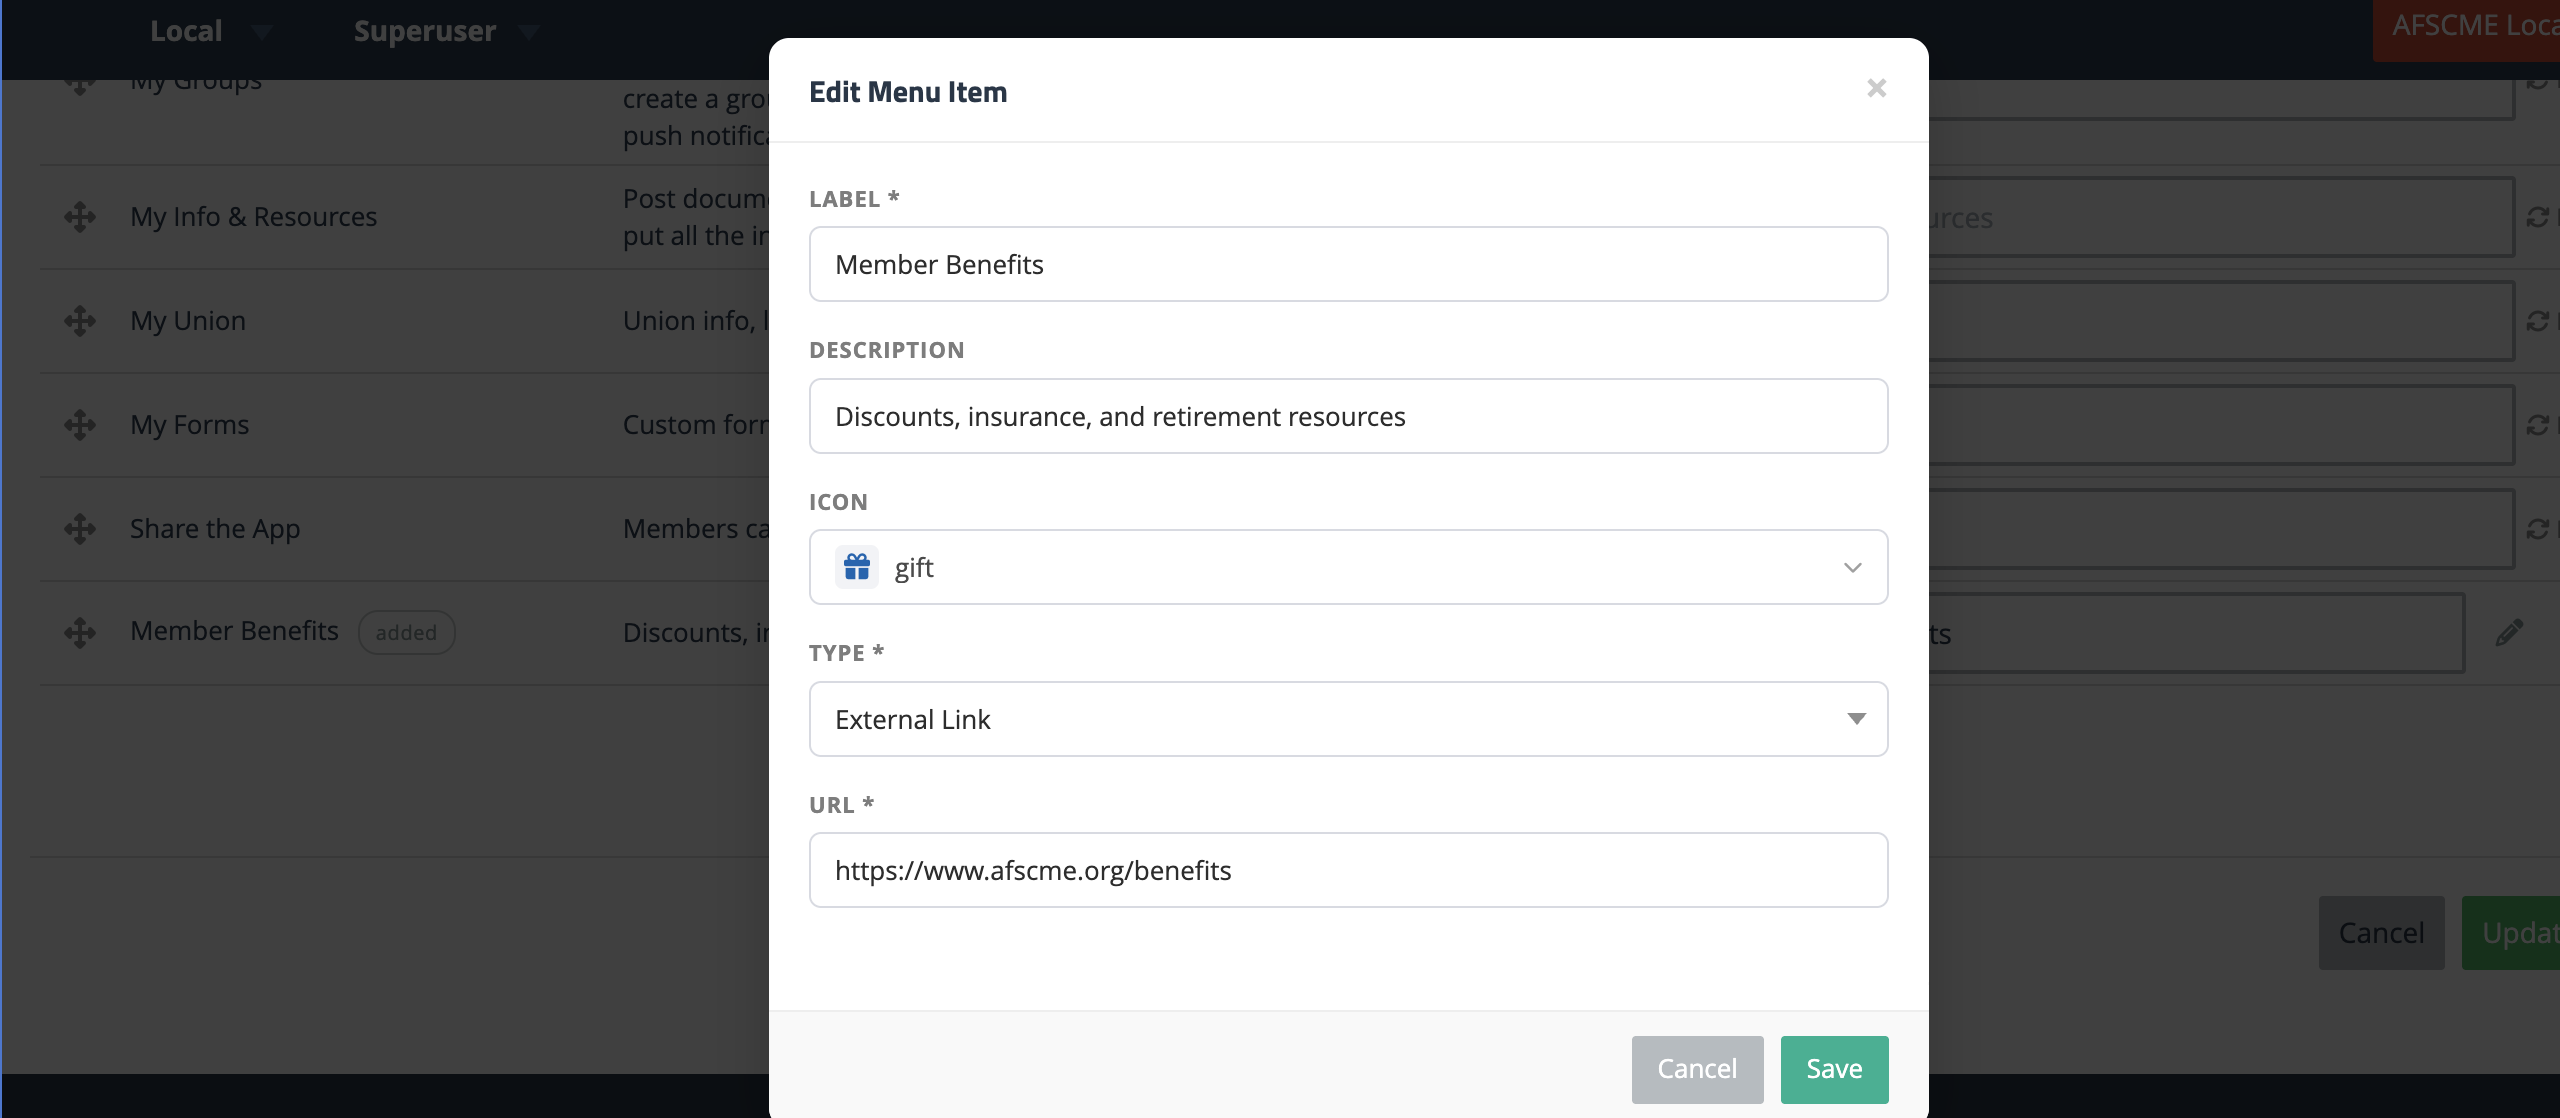
Each custom menu item row has a pencil icon on the right to edit it and a trash icon to delete it. Click the pencil to reopen the same form you used to create the item. Click the trash icon to remove the item from the menu.
Reordering and Hiding
Custom menu items behave just like the built-in items in the rest of the table. Drag the move icon (+) on the left to reorder them, and uncheck the Enabled checkbox to hide an item from the app without deleting it. You can also use the Label Override field to change what members see, without editing the item itself.
Broken Links
If a menu item points to internal content that is later deleted, deactivated, or (for events) has already ended, the row is flagged in the Menu Items tab so you can fix it. Broken items are also hidden from the app automatically, so members never see a dead link. Click the pencil icon to point the item at a different piece of content, or delete the item if it’s no longer needed.