Directories are for showing information about leaders and other important people in your union. You may want to create a way for your membership to view information about their executive board, committees, stewards at a particular location, or business agents. The directories should help your members find the people that might be able to help them solve a problem and give recognition to the people building the union.
Directories can be Marked as Representation for a specific bargaining unit. Any directory marked as representation will appear under the Find My Representation section of the app for members of that bargaining unit.
Directories can only display people you have already added to the People section of the app. Once a person has been added there, they can be added to one or more directories.
Creating a Directory
- Log in to the app manager.
- Open the Directories listing under the bargaining unit, group, location, or Union-Wide Resources where you want the directory to live. A directory under a bargaining unit is only visible to members of that unit; one under Union-Wide Resources is visible to the entire local.
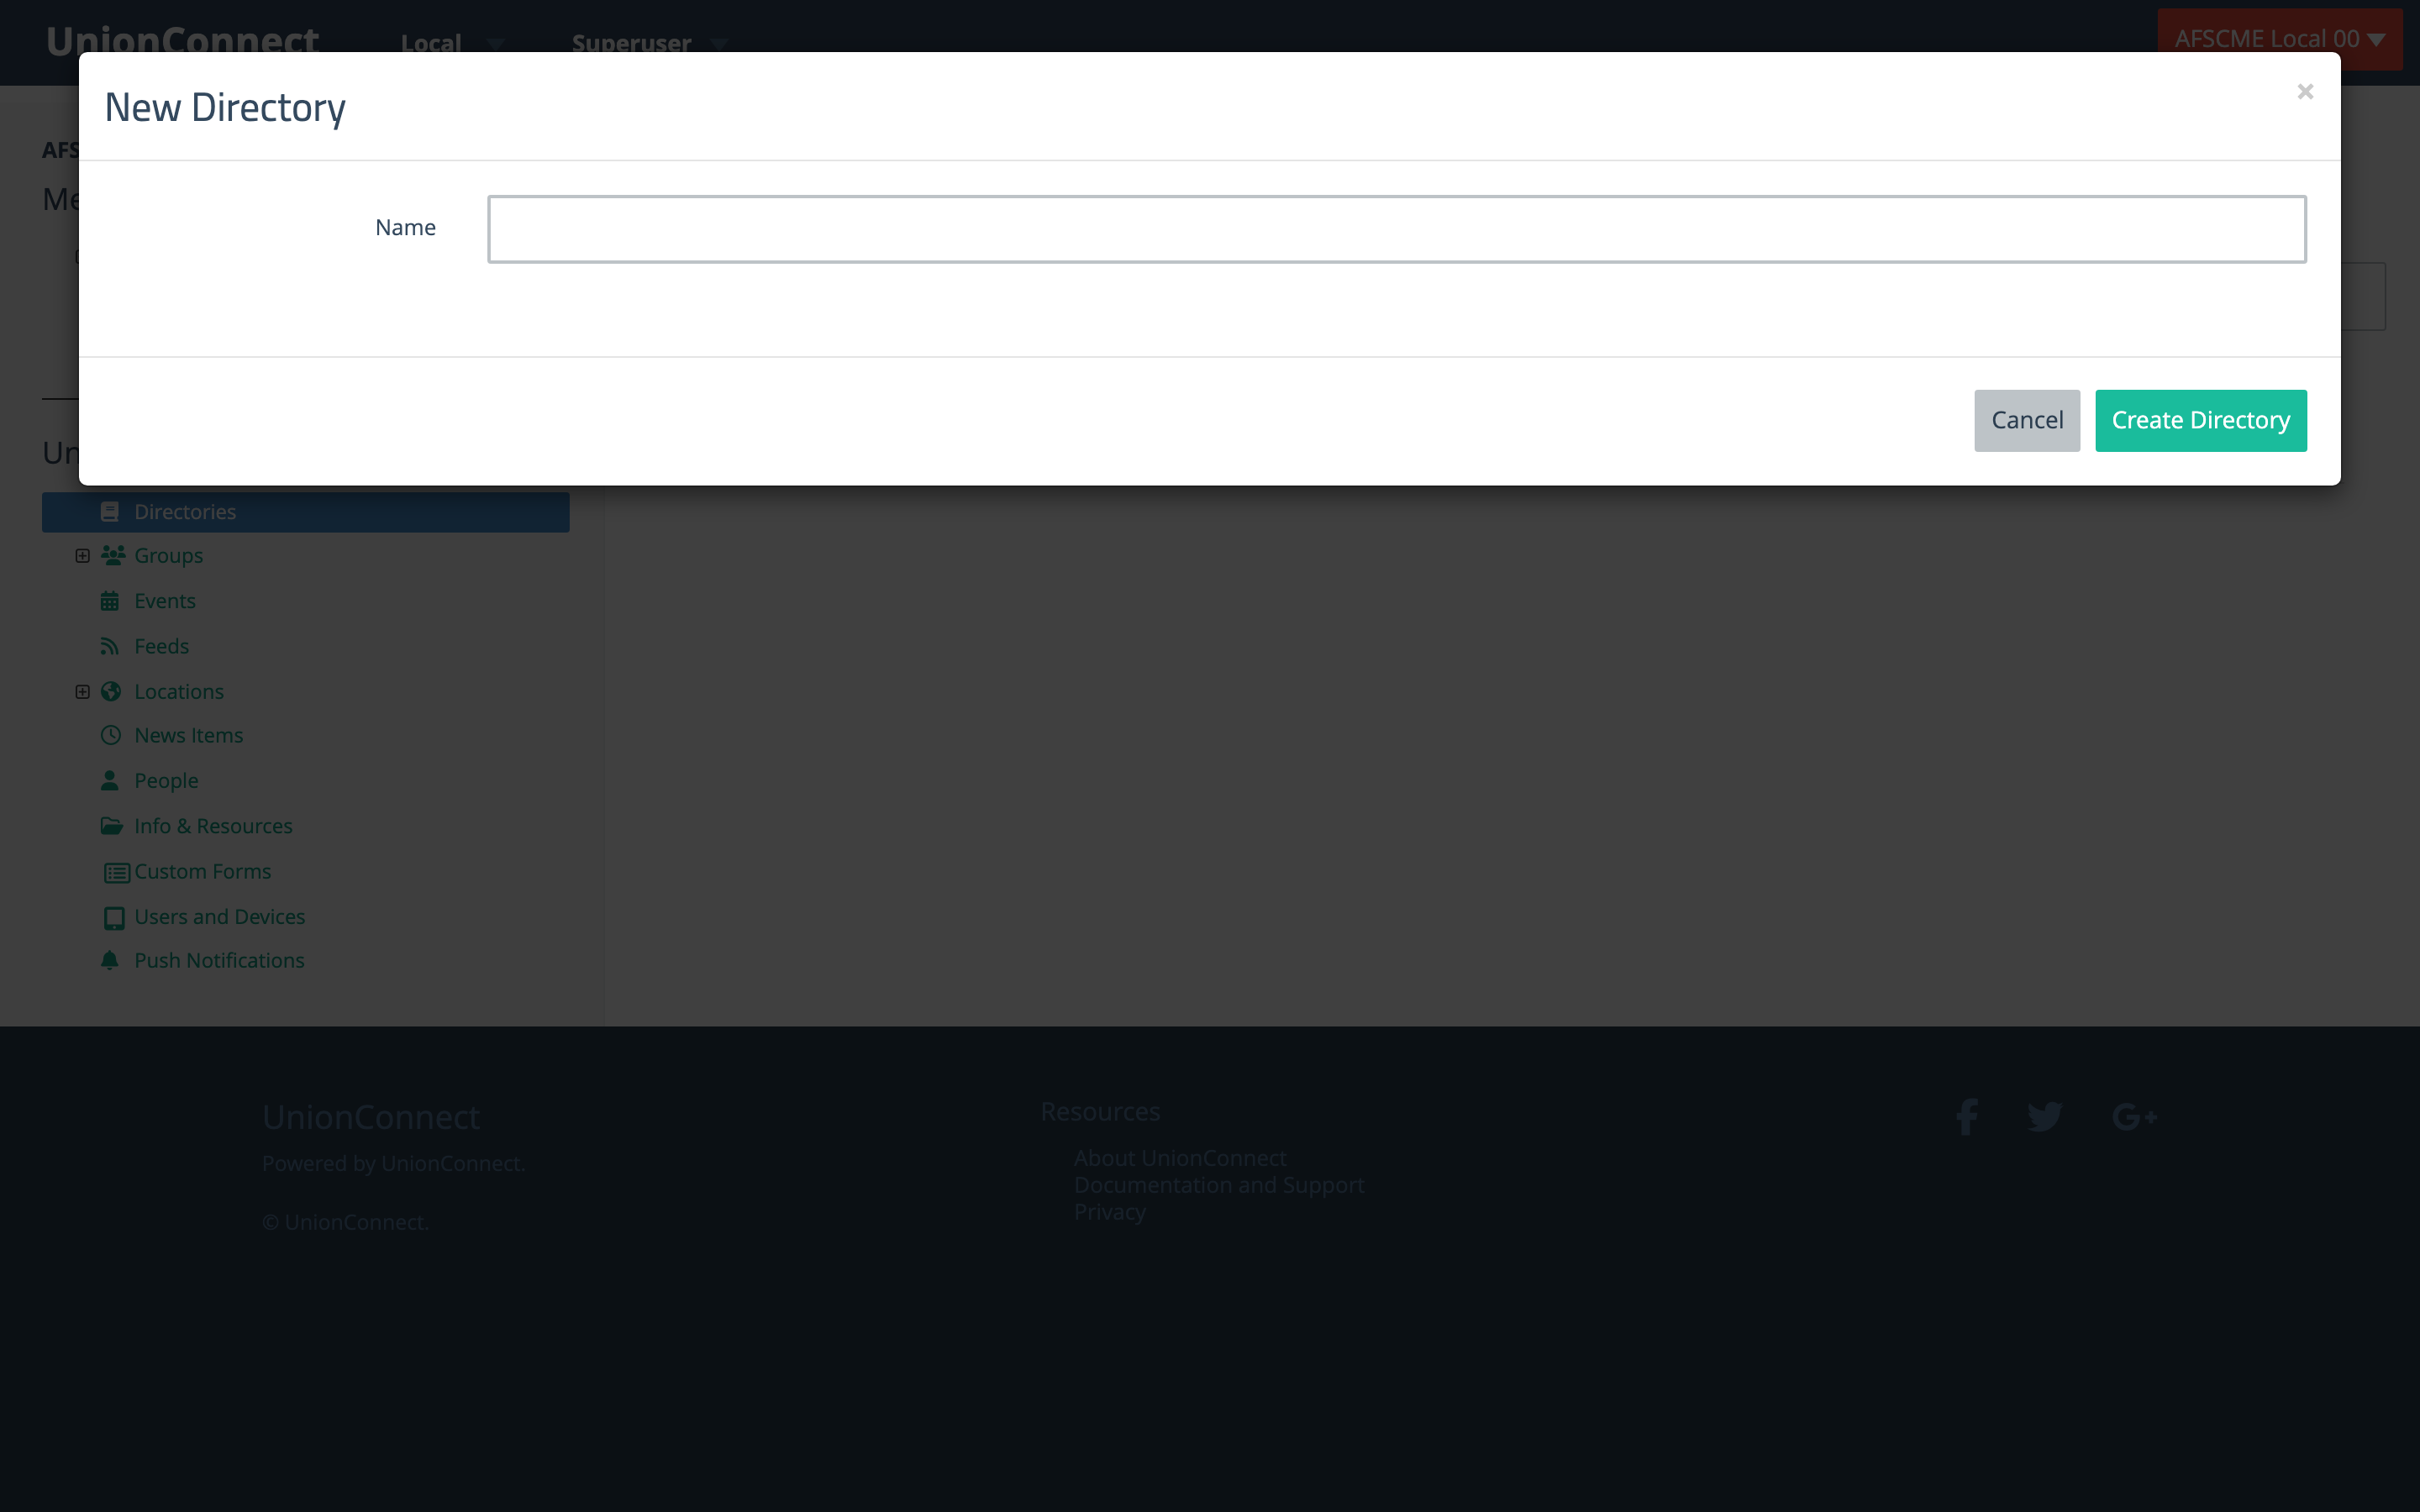
- Click New Directory in your section name.
- Enter a Name and click Create Directory.
Finding a Directory
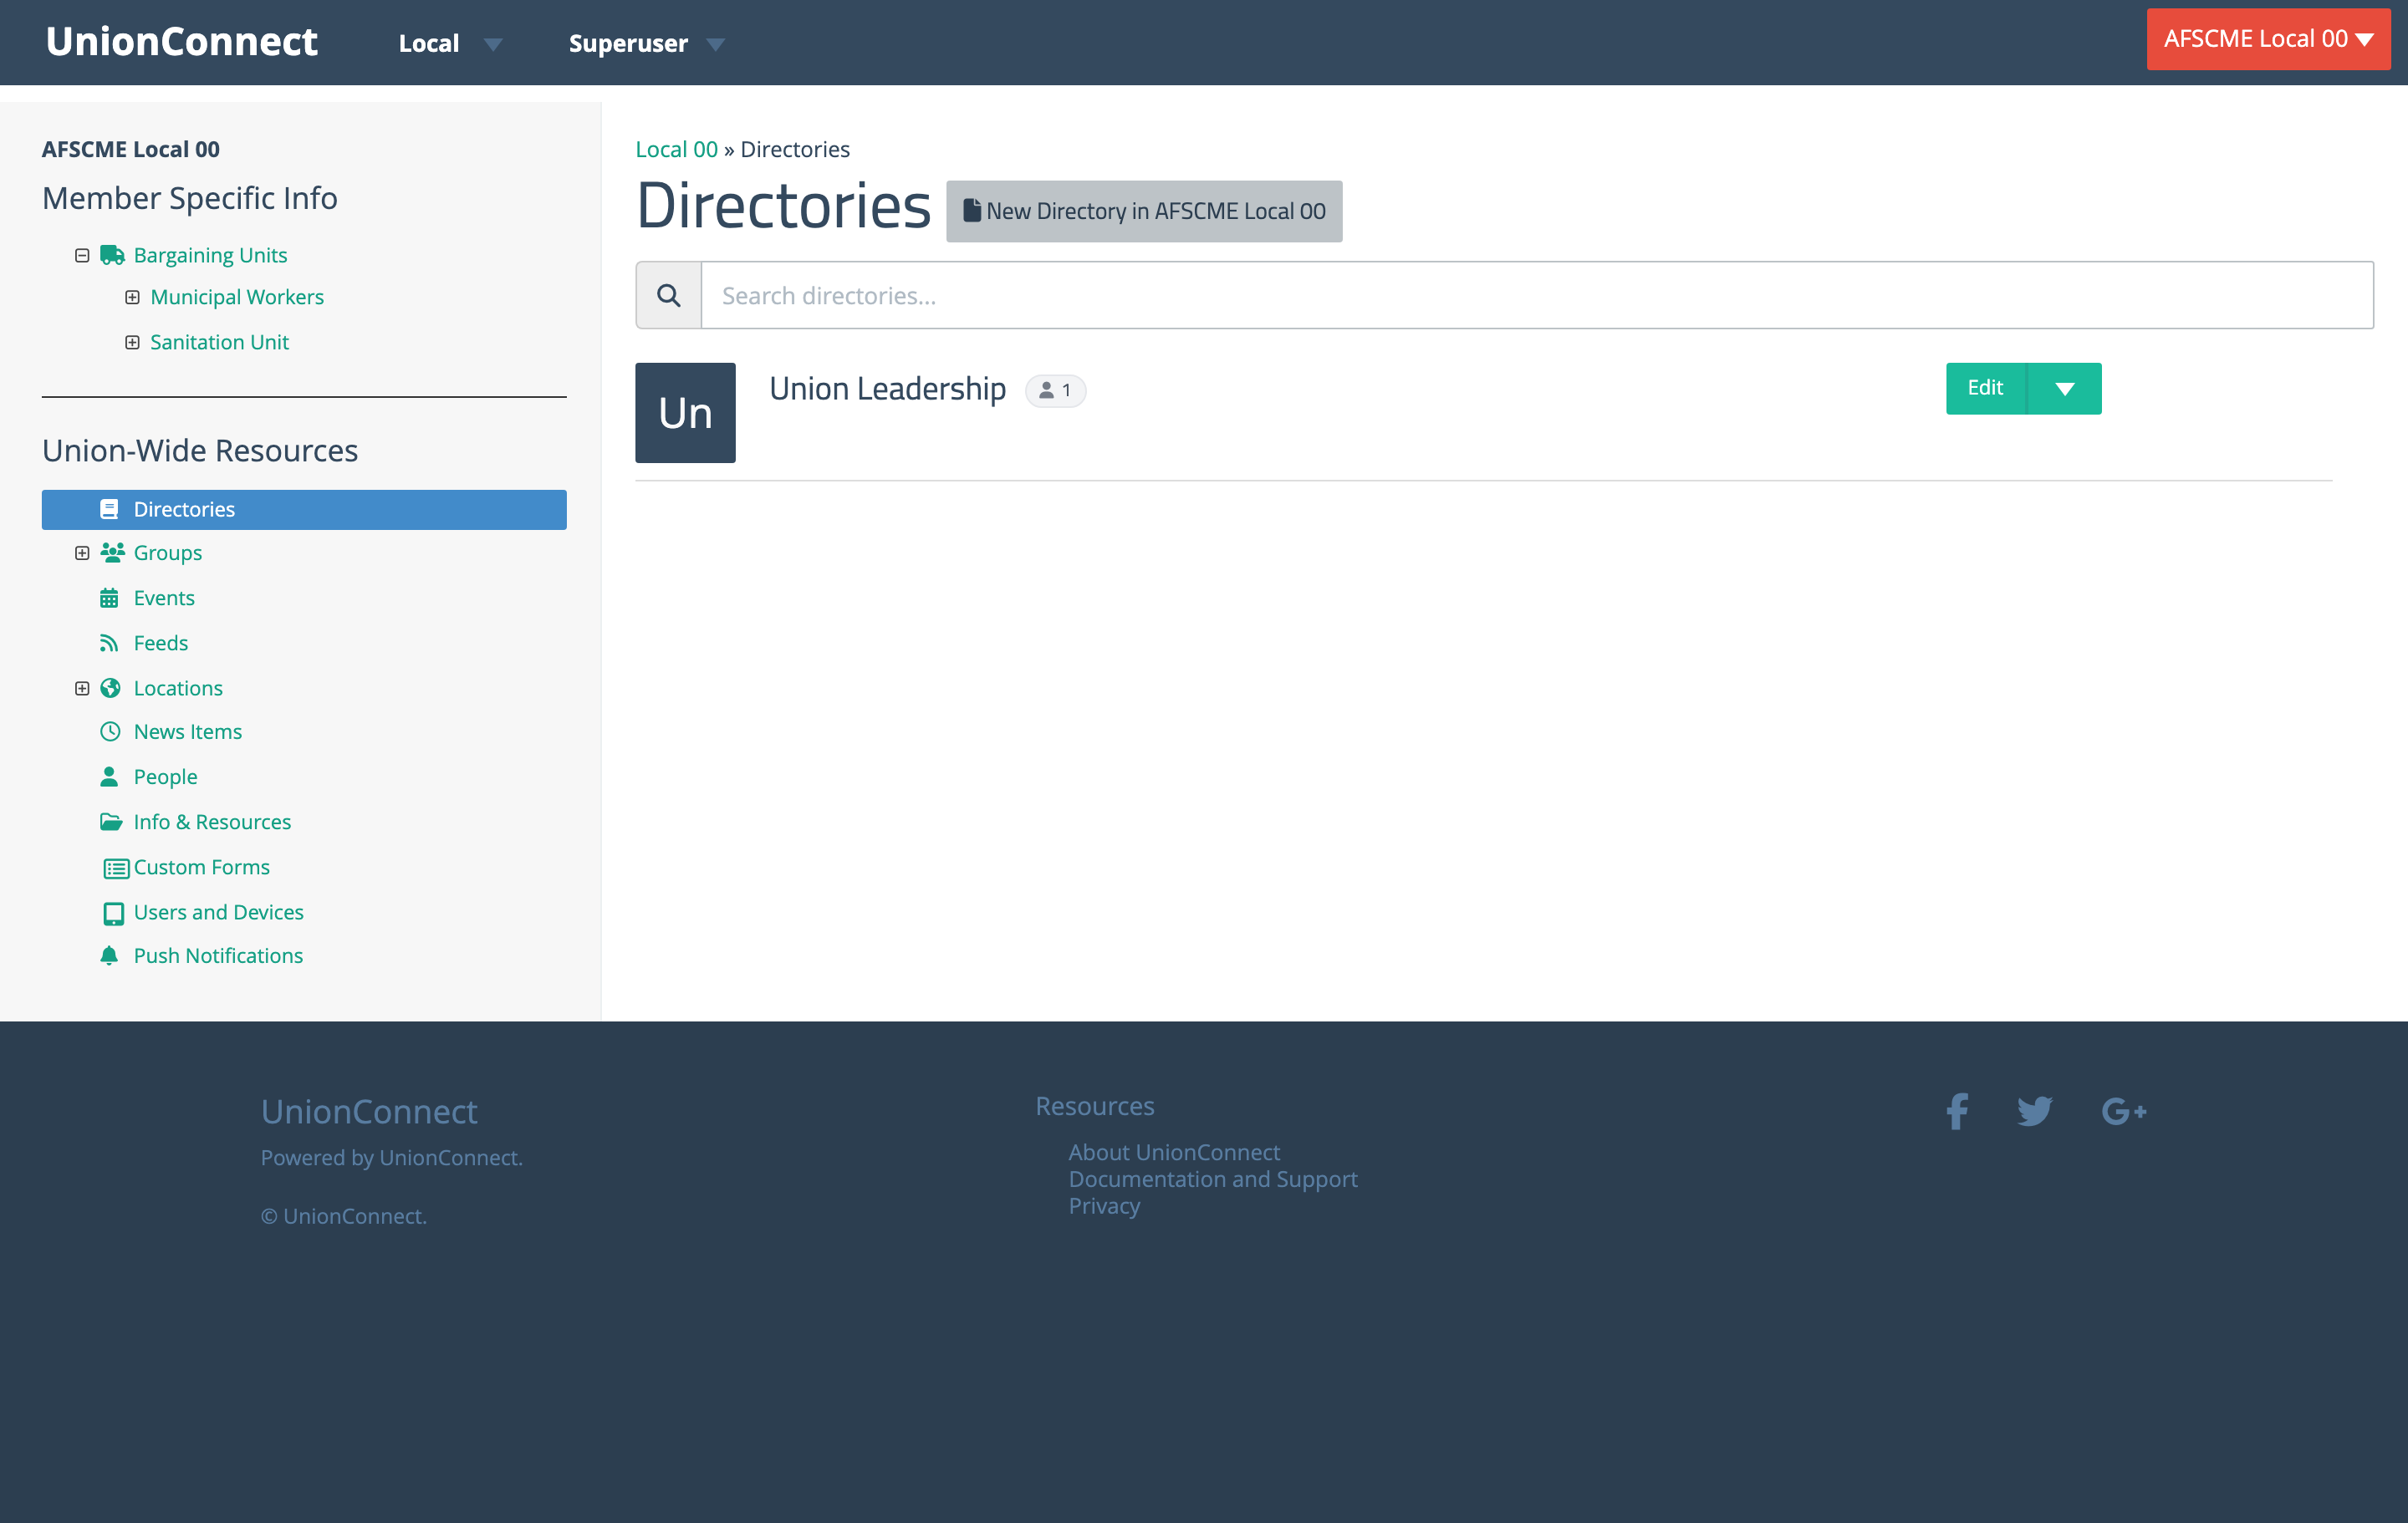
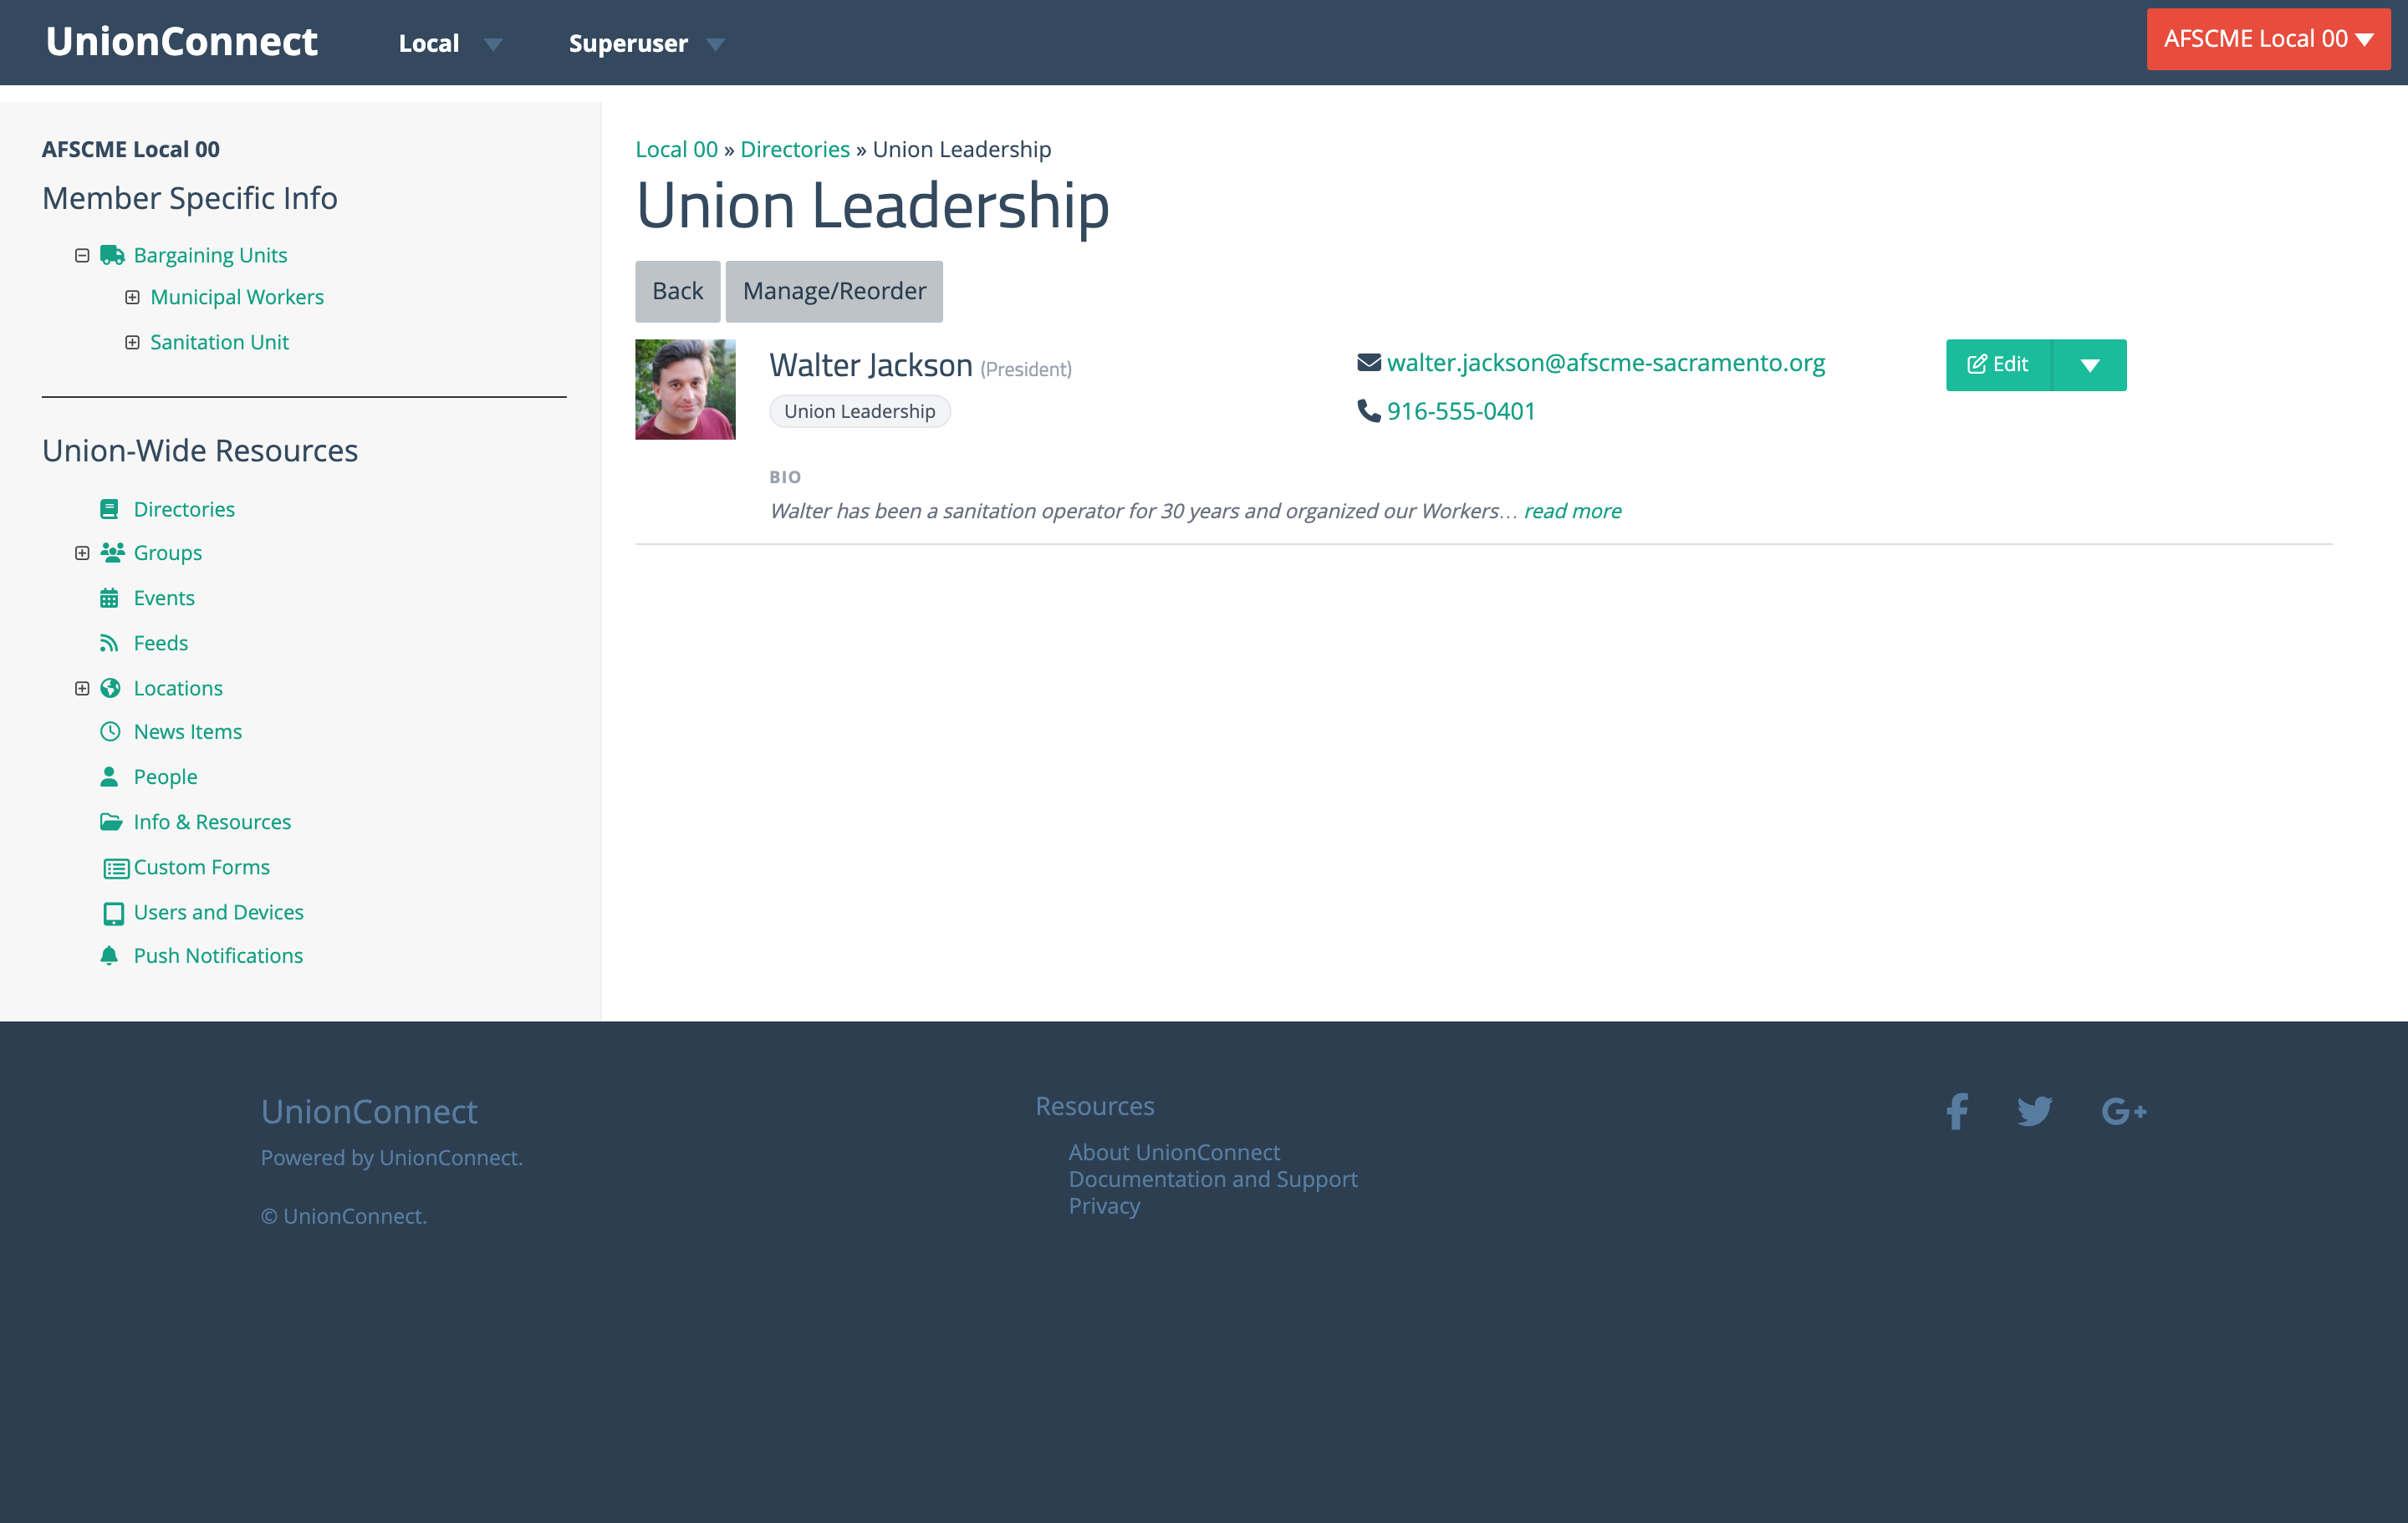
Each directory listing shows the directories in that section. Use the search box at the top to filter by name, and check the people-count badge next to each directory name to see how many people are currently in it. Click a directory’s name to open a read-only view of its members.
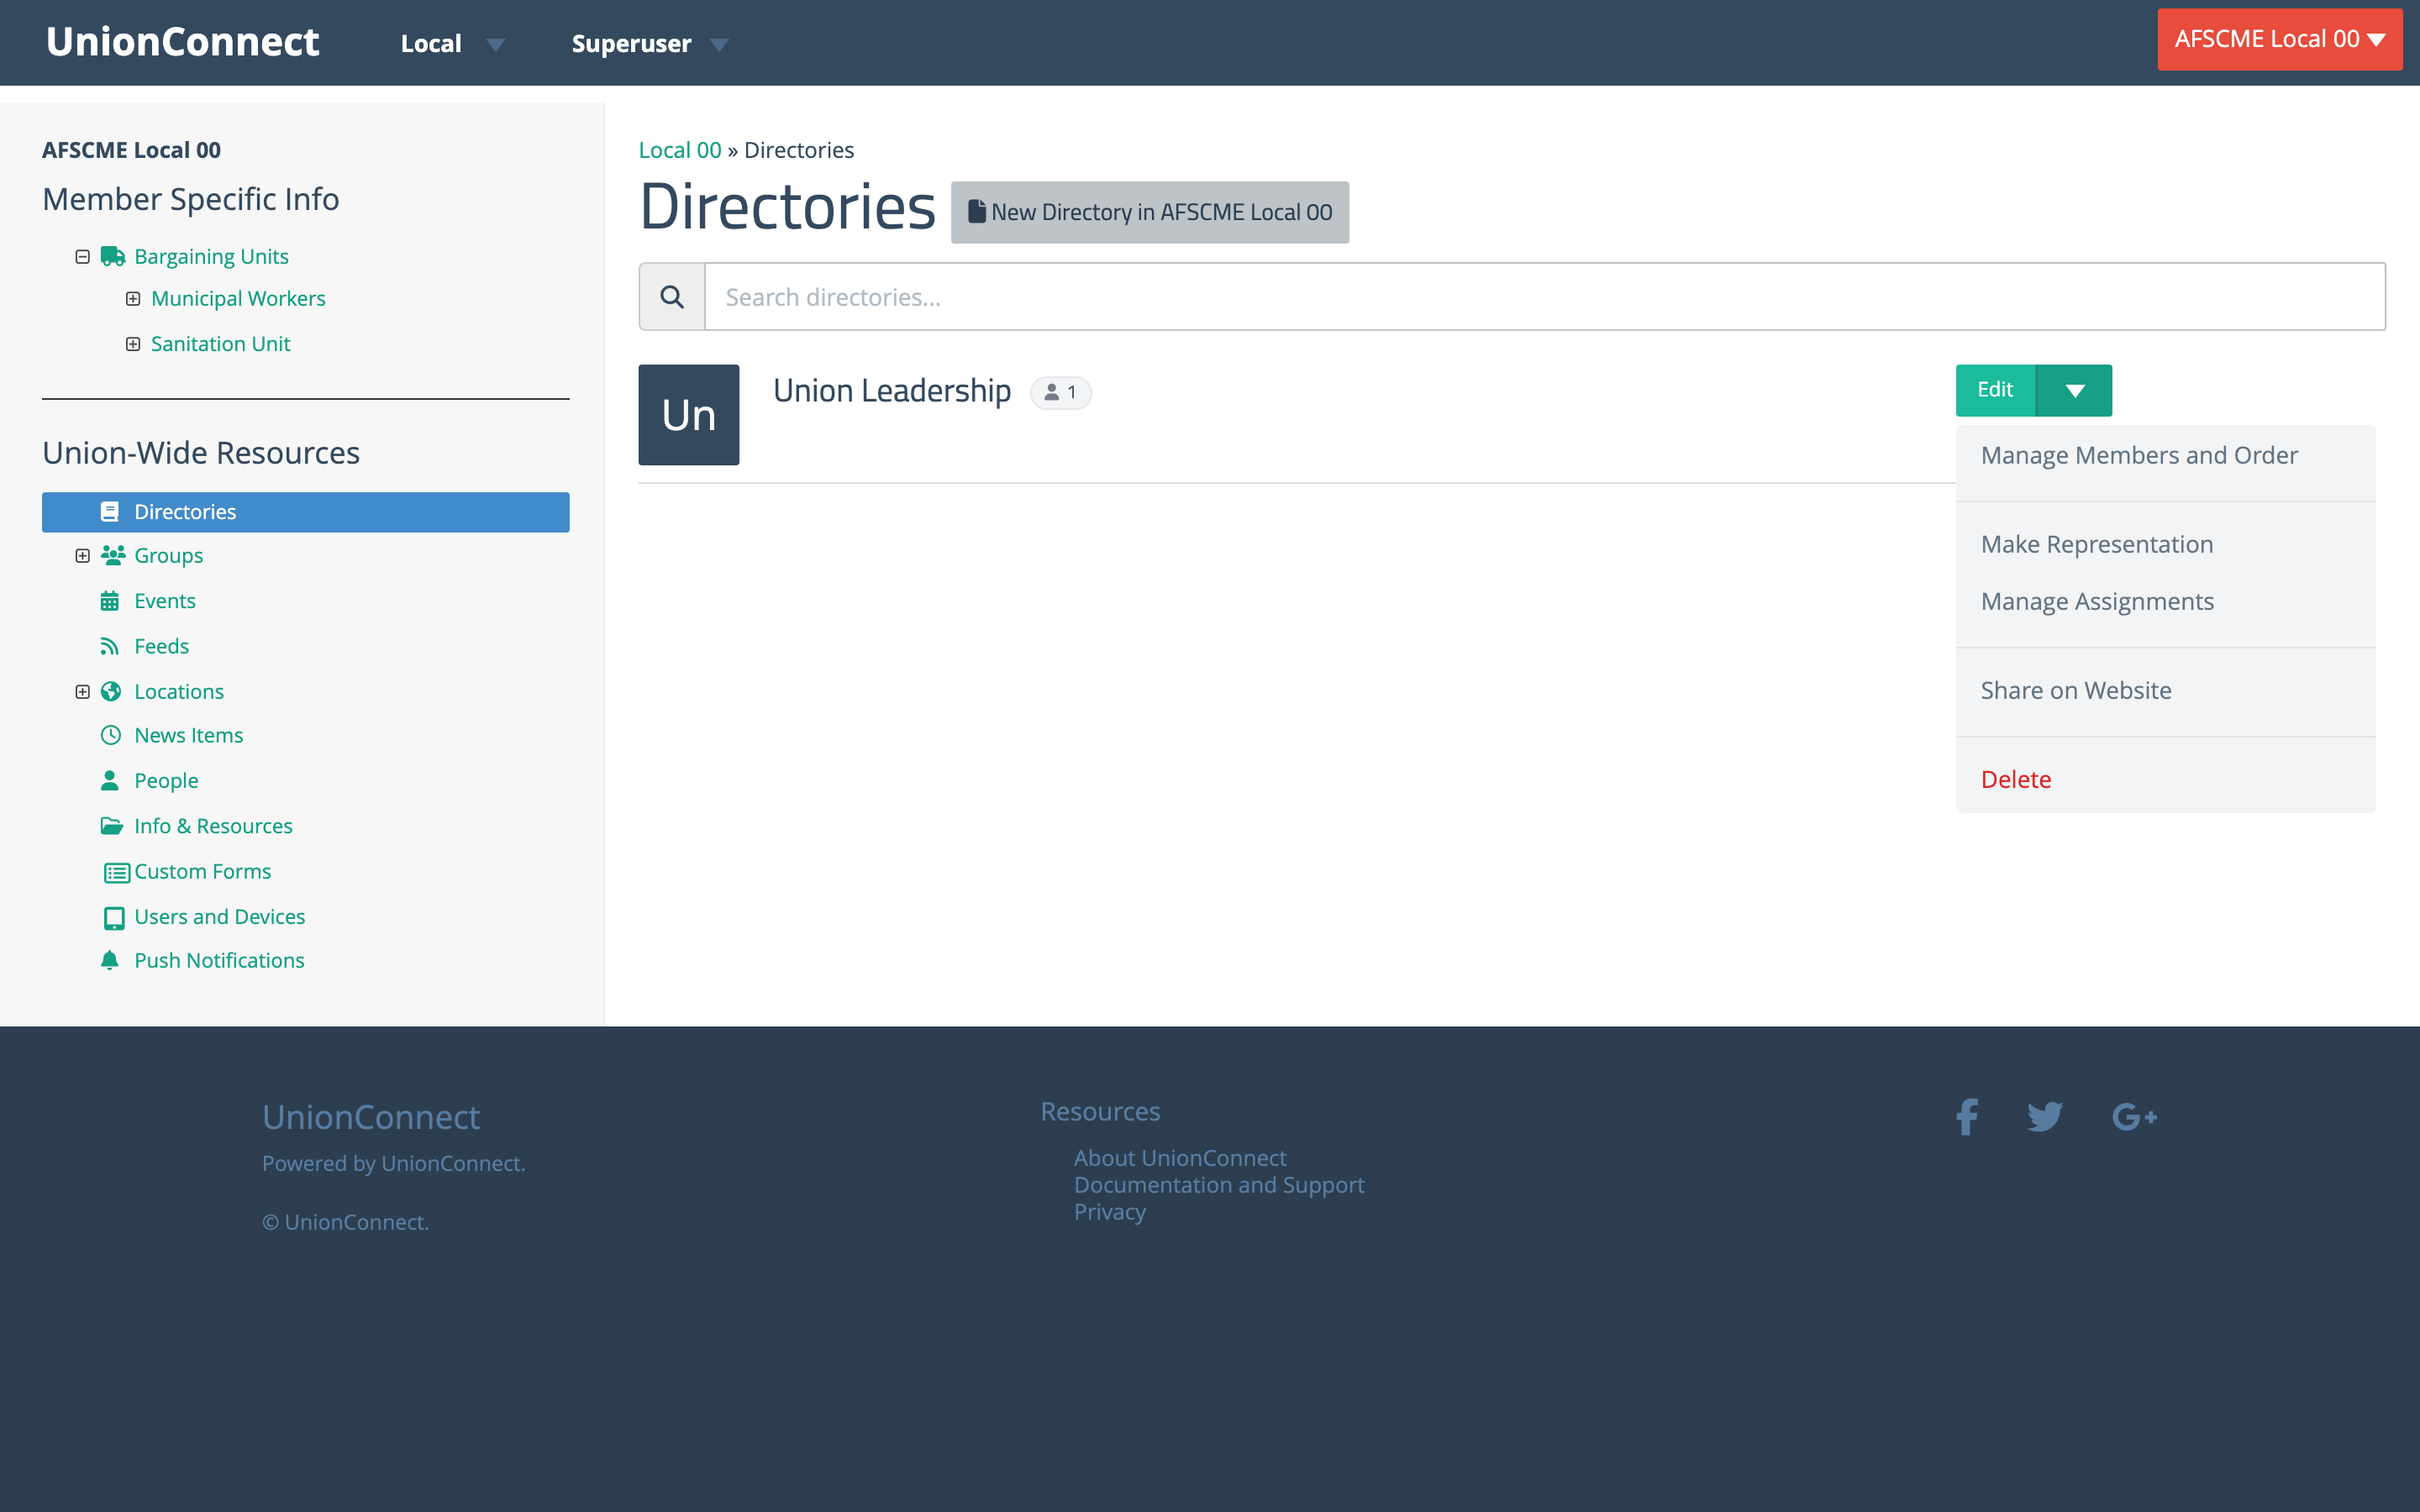
Manage Members and Order
Adding people to a directory and setting the order they appear in are now done from a single Manage page.
- From the Directories listing, click the green dropdown arrow next to the directory’s Edit button and choose Manage Members and Order.
The Manage page has two panels:
- In this directory (left) — the people currently in the directory, in their display order. Each row has a Top / ↑ / ↓ / Bottom shuttle to move it, an ✗ button to remove the person from this directory, and a drag handle on the far left for free-form reordering.
- People in this local (right) — everyone who can be added. Use the search box to find someone, then click the green + Add button next to their row.
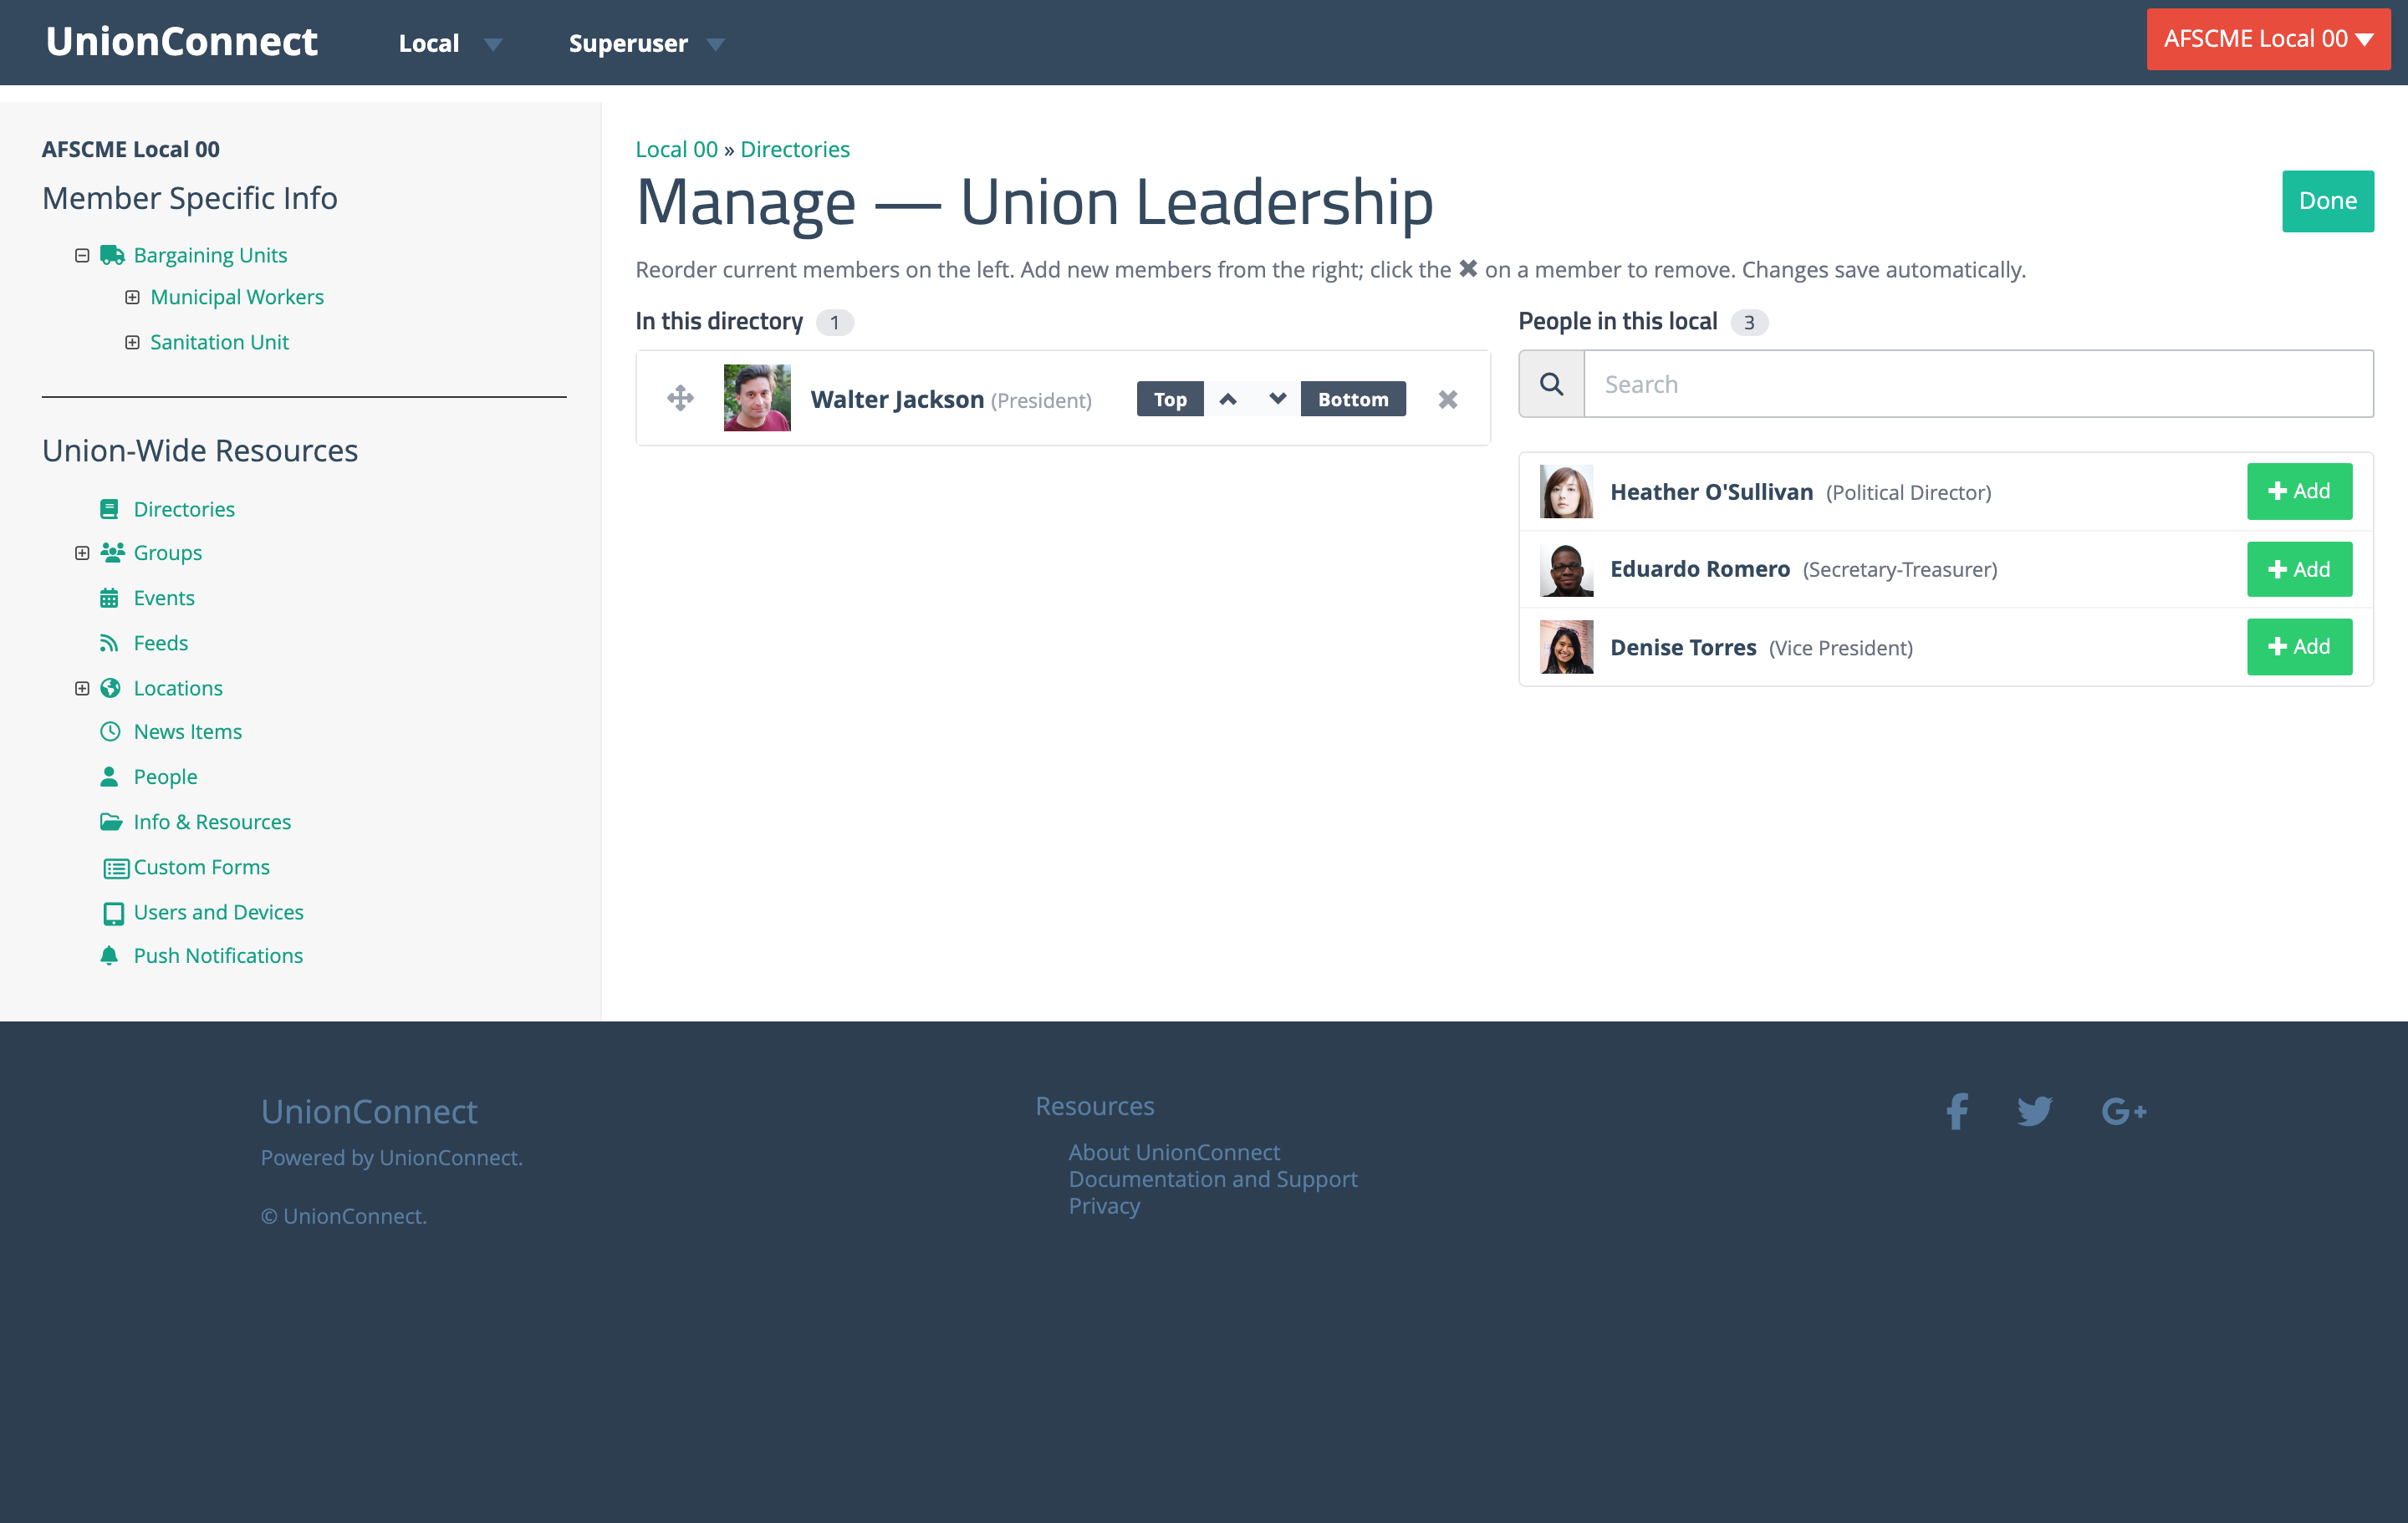
Changes save automatically — there is no Save button. When you’re finished, click Done in the upper right to return to the directory.
To assign a person to several directories at once, see Managing Directory Assignments.